In this post, you’ll learn “How To Add Subtitle File to your YouTube Videos” with step-by-step instructions.
- Adding subtitles helps to reach a broader audience on YouTube.
Generally, there is no guarantee that all your audiences are needed to know your speaking language, even if it’s English.
Adding subtitles to your YouTube videos is not just a good practice; it’s a game-changer.
It can significantly boost your views, drive more traffic to your channel, and even become a reliable source of revenue.
With those benefits, let’s see how to add it!
How To Add Subtitles to YouTube Videos
Firstly, you don’t need to know other foreign languages to add captions or subtitles.

Yes, YouTube has fantastic features and technology that help creators create and add subtitles. No worries, let me explain clearly below.
Find Audience Language
Before generating the subtitle, you must know which “language audiences” mostly watch your videos.
For instance, if you’re uploading videos in English and a viewer from Dubai, who isn’t fluent in English, enjoys your content, subtitles can greatly assist them, don’t you think?
That’s how you generate the subtitle files based on your target audience’s languages.
OK, but how do I find my target audience language?
- Go to Video Analytics -> Select Audiences -> Choose Top Geographies.
You’ll see the details of your channel audience’s countries details.

Wait, this is not a language list; this is the audience’s countries list. For example, the above image of my channel analytics shows that most of my audiences are from India.
But what is the language?
Do you know that Indian people speak 700+ languages in different places? This is different from what we required from Analytics.
The best alternative to provide proper data is to use the TubeBuddy tools for audience language detection.

Yes, it’s a free channel SEO management tool that does a lot of channel optimization work. The best part is that it’s a browser extension, so it will work on the YouTube interface itself.
Once you install TubeBuddy and log in with the free account, go to the videos page and click the Subtitles button.
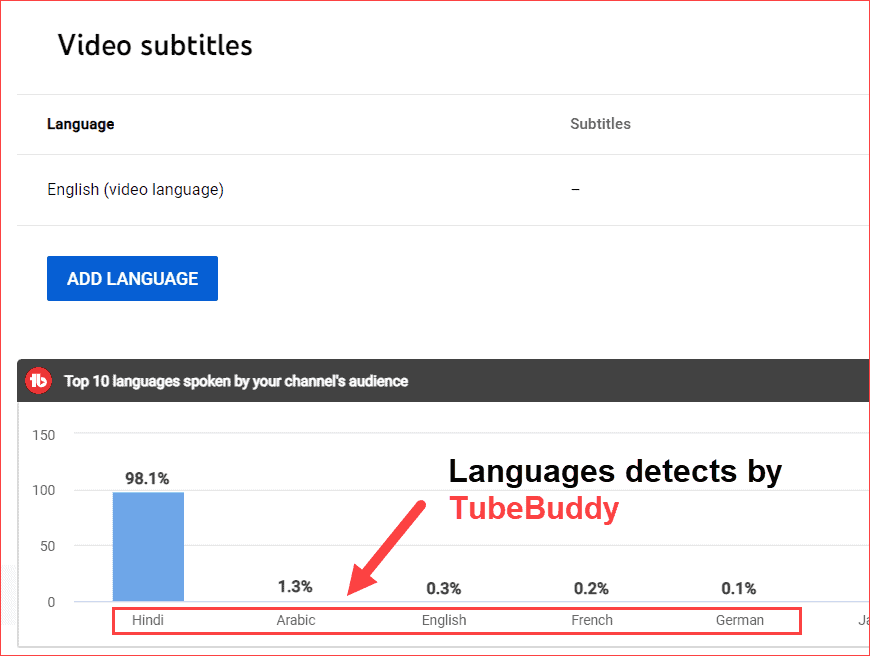
It will bring the audience percentages based on their languages on your YouTube analytics interface itself.
This is pretty cool. Since most of my video’s audience is Hindi-speaking people from India, I will create the subtitles in that language, too.
We found our primary audience’s languages, and it’s time to add subtitles to YouTube videos.
Step 1: Video Subtitle
Firstly, open your YouTube studio and log in with your dashboard page. And once you reach the dashboard page, click the Subtitles option on the left sidebar.
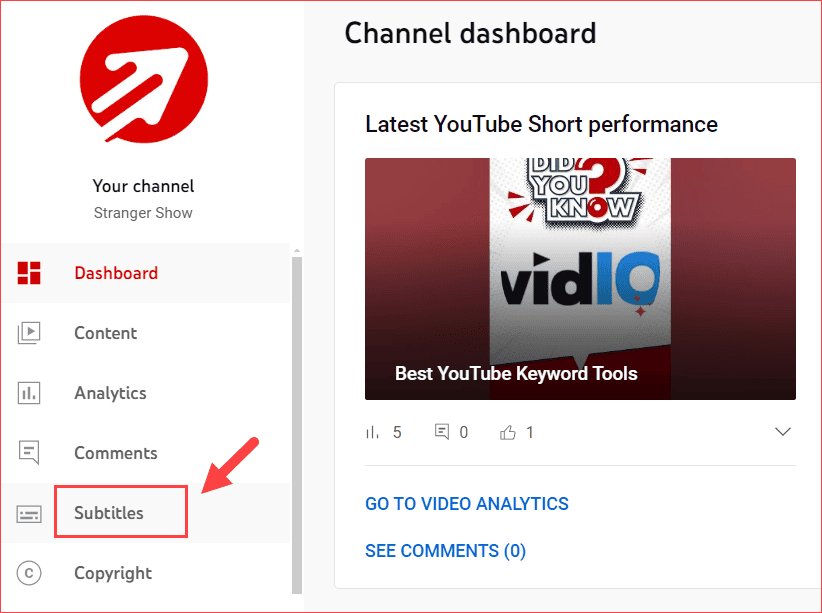
Now, select the YouTube video where you want to add subtitles or captions.
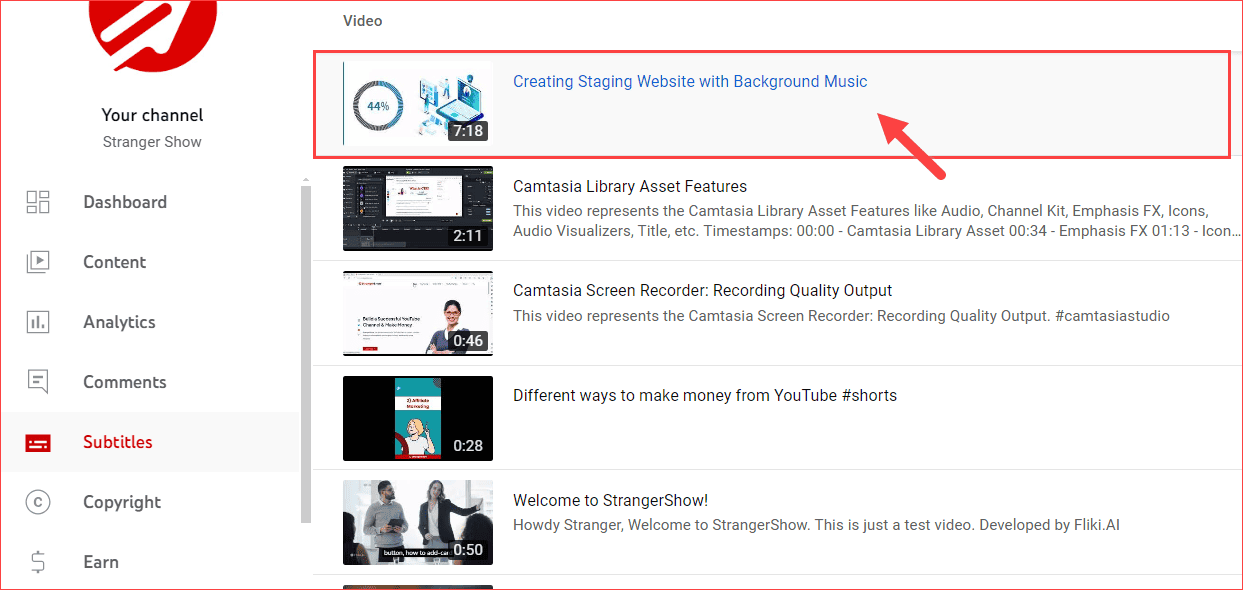
Step 2: Add Subtitles to YouTube Video
Once you’re on the YouTube Subtitle page, you’ll see the list of subtitles you already added; if it’s new, you will see the ADD LANGUAGE button on subtitles.
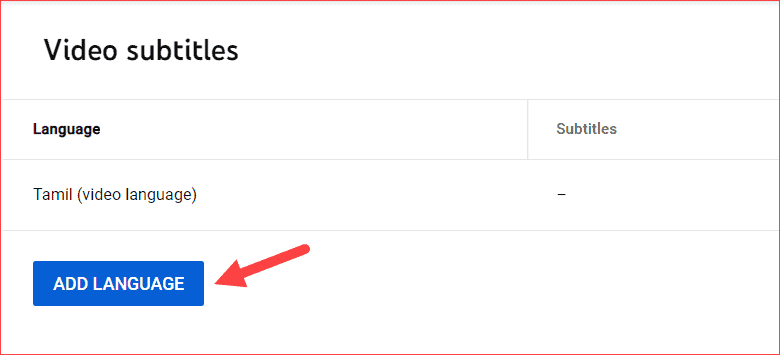
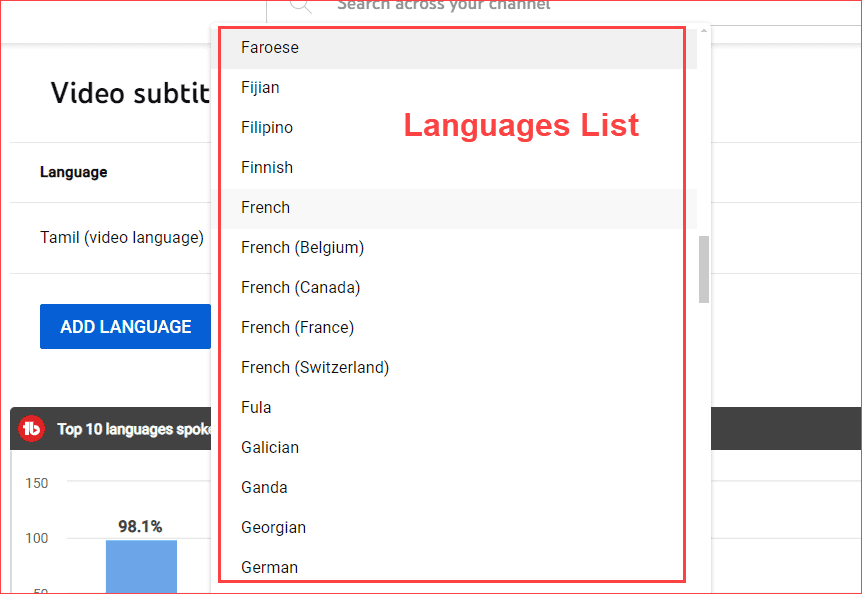
Choose the language from the list. For instance, here I’m choosing French language for my subtitle.
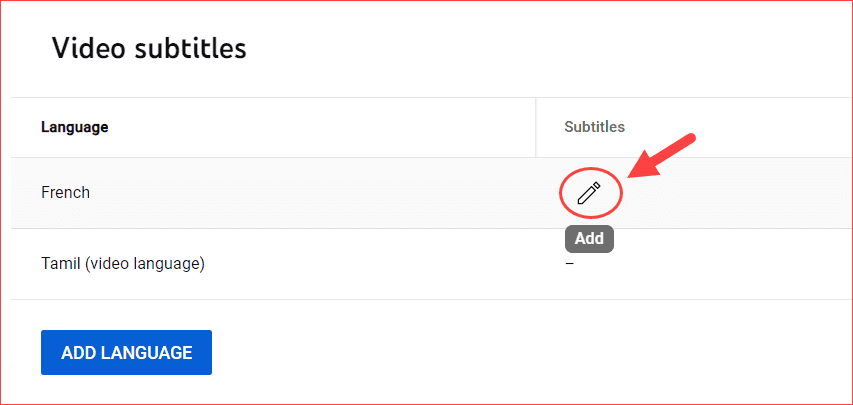
Once you’ve selected the language, the subtitle will be added to the video’s subtitle page, as shown below. To make any changes, simply click the edit button.
Here are different ways to add subtitles to YouTube videos: upload file, Auto-Sync, Type manually, and Auto translate. Let’s examine each one.
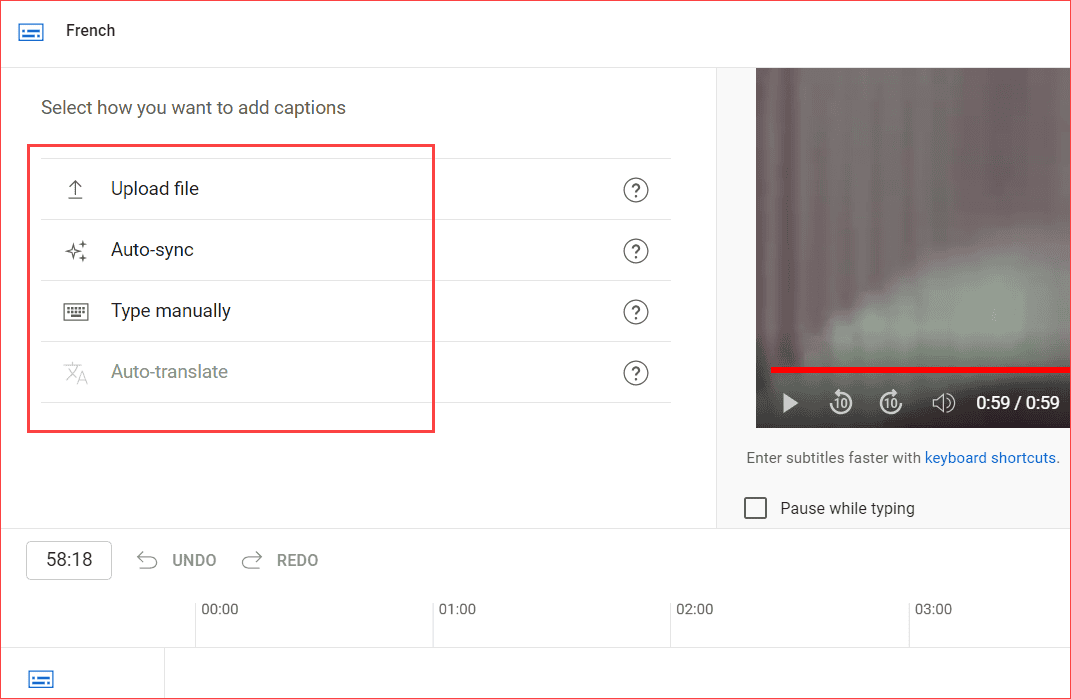
- Upload file
It allows you to upload the caption file in a specified format. However, the most common caption file format is SubRip (.srt).
The file must contain subtitles along with the time codes. For a better example, this is how the .srt file should be,
.SRT Subtitles File Format Example
1) 00:02:16,612 –> 00:02:19,376
Hello Buddy, Welcome to StrangerShow
2) 00:02:19,482 –> 00:02:21,609
Stranger Show is a blog that talks about how to earn money from YouTube.
- Auto-sync
You can write the full video transcript without any conditions, and the time will automatically sync with your video.
- Type Manually
When you think about adding your subtitles manually, use this option. You only need to watch the video and manually type the captions.
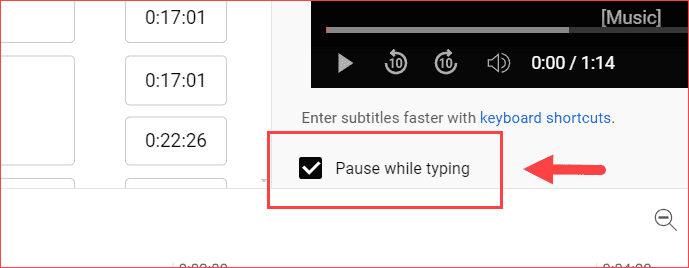
Use the feature “Pause While Typing” to utilize this more effectively.
- Auto-translate
Firstly, to use the auto-translate option, you need to publish the original video language captions initially. Moreover, this auto-translate feature will not be visible for the auto-generated captions.
That’s all about how you manually add subtitles to YouTube videos.
For some videos, YouTube generates auto subtitles for specified languages based on its speech detection technology.
AUTO-GENERATED SUBTITLES
Click the languages with automatic captions on the subtitles page.
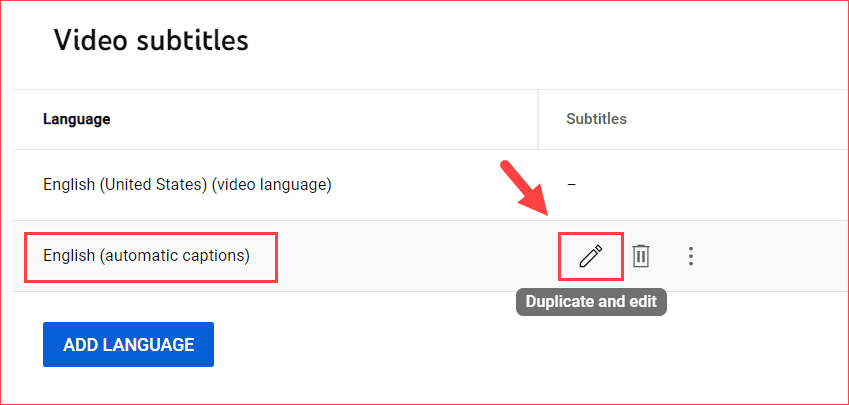
You’ll land on a page like the one below.
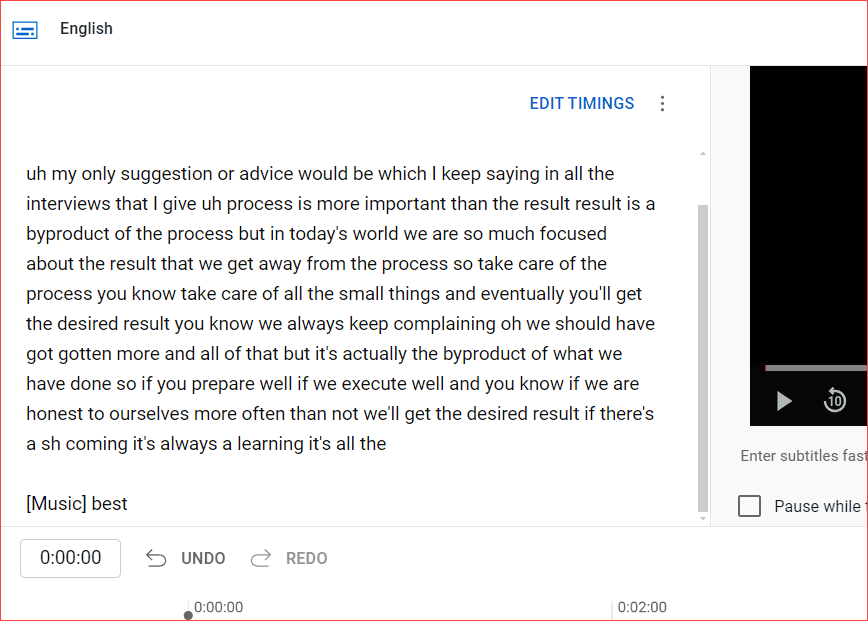
Click the “EDIT TIMINGS” button for better visibility.
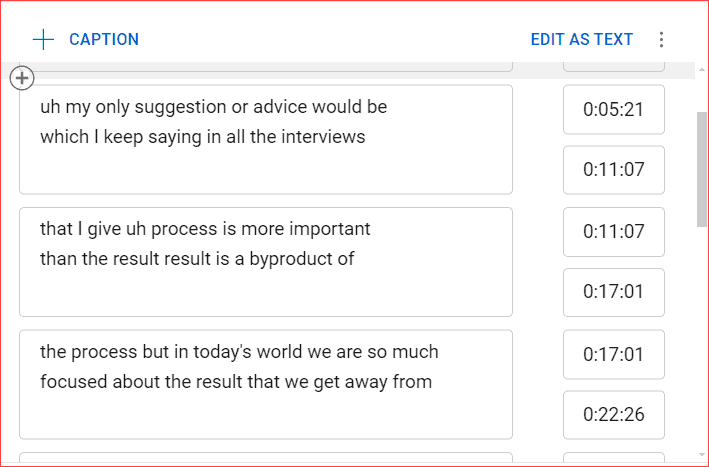
Now, play the video and check whether the auto-generated subtitles are good or any corrections are required.
If everything is good, then click the PUBLISH button.
That’s all about adding subtitles to YouTube videos for different languages.
As you can see, you can add multiple subtitles/caption languages for a single video.
Sometimes, you need external help other than YouTube auto-generated captions to generate the subtitles. Read below.
Fast & Accurate Closed Captions Software
- Rev: Rev is a paid software that adds captions to your videos by 99.9% accurately because it’s reviewed and added by a professional human. To learn more about Rev, read this article here.
- Descript: Descript is AI technology software that can do the following: auto-generated subtitles, captions for the video, and custom font styles and animations on your captions.
Also, a few editing software like Adobe Premiere Pro have the option to add captions & subtitles.
To translate your video title and description, check out the article below to translate it quickly.
I hope you understand how to add subtitles to your YouTube videos. If you still have any doubts, feel free to contact me in the comment section.
FAQ
Related Articles:
Share this article with your friends.
