What to do to increase the traffic and revenue of your YouTube channel – just by following the best practice of filming a video?
How To Film a YouTube Video in 2025, the first step to making progress on engaging with audiences.
It might be a mess if it’s your first video in front of a camera or recording.
No issues!
Everyone will have the same things, but you could see a significant improvement in your filming process when you regularly do it.
In the meantime, many creators asked me: What equipment is needed to film a YouTube video?
Well, essential equipment like a camera or mobile phone, microphone, lights, and other gadgets are needed to film a complete YouTube video.
Considering you have all this costly equipment but don’t know where to place the lights, how to operate the camera for the best shot, and how to record clear voices means, the money you spend on those gadgets is useless.
I developed an article explaining how to professionally film a YouTube video on a phone or camera without losing the content quality.
5 Best Practices for Film a YouTube Video
1) What Video Script Requires
Don’t tell “Start, Camera, or Action” until you get everything on the table to make the video.
So, what are all the things needed before filming a YouTube Video? The list down here,
- Get Video Script: Write down the complete YouTube video script that the context requires. Give separate time and write the script. Otherwise, it will cause collateral damage while shooting the video.
- Ambiance: If you’re shooting indoor videos, make the atmosphere clean and neat to launch a video anytime. If any outside traffic noise or nearby factory sounds makes you uncomfortable, then try to solve that. Otherwise, change the place. If the content is shot from outside, not indoors, then find clear surroundings that won’t spoil your video.
- Personal Attair: It’s up to you to choose your costumes, but never promote hate speech or abusive words on the t-shirts/trousers, which causes controversy. Even though you have an idea of wearing the same costumes in every video, it’s an excellent approach to create the channel’s uniqueness.
- Review Items: When you promote the review products, make sure once or twice that the product is working fine and you understand the product clearly.
- Backdrop: When you decide the background is white, the plain white wall is fine. If you’re going with lighting settings on your backside, arrange those. We will see that deeply below in the topics.
- Other Peoples: Only keep the other persons in your studio if they add value to your video. Otherwise, it will distract your focus from making videos.
2) Camera Setup
When you start filming your video on YouTube, your camera is the first place you go to.
Let’s start setup your camera for the best results regardless of what camera or mobile camera you use.
Shot:
Generally, different types of angle shorts are available to record the video. For your video, first, define the type of shot you want to take for the entire video.
Some of the best angle shots are:
- High-angle shot
- Low-angle shot
- Long shot
- Medium shot
- Close up shot
- Over-the-shoulder shot
- Establishing shot
For YouTube videos, the best angle shots are,
- Establishing Shot: This shot is usually added at the start of the video. For example, describing nature, places, grounds, etc. Refer to the below video how these shot results are,
- Long Shot: If the video contains more than one person, set it up as a long shot.
- Close-up Shot: If you’re a vlogger shooting from your phone, this shot will suit you. When you represent the object close to the camera is a close-up shot. For reference, take a look at Lila’s video.
- High-angle shot: This shot is preferred mainly for product reviews, unboxing, and cooking recipe channels.
A video can contain multiple shots to gain an audience’s attention. For example, you are making a long-short video explaining the features of some affiliate product. And at the end, you can do a close-up shot to give a discount coupon code and conclude the video. This close-up shot helps to pull your audience to you and make a deal.
Note: Don’t leave the main subject out of frame when you switch the angles while filming a YouTube video.
3) Audio Quality Check
Different types of microphones come to market to deliver high-quality audio engagement.
Sometimes, the low-cost mic does the magic in closed noiseless rooms.
However, the best place to keep the microphone for recording without flaws is on your mid-chest.
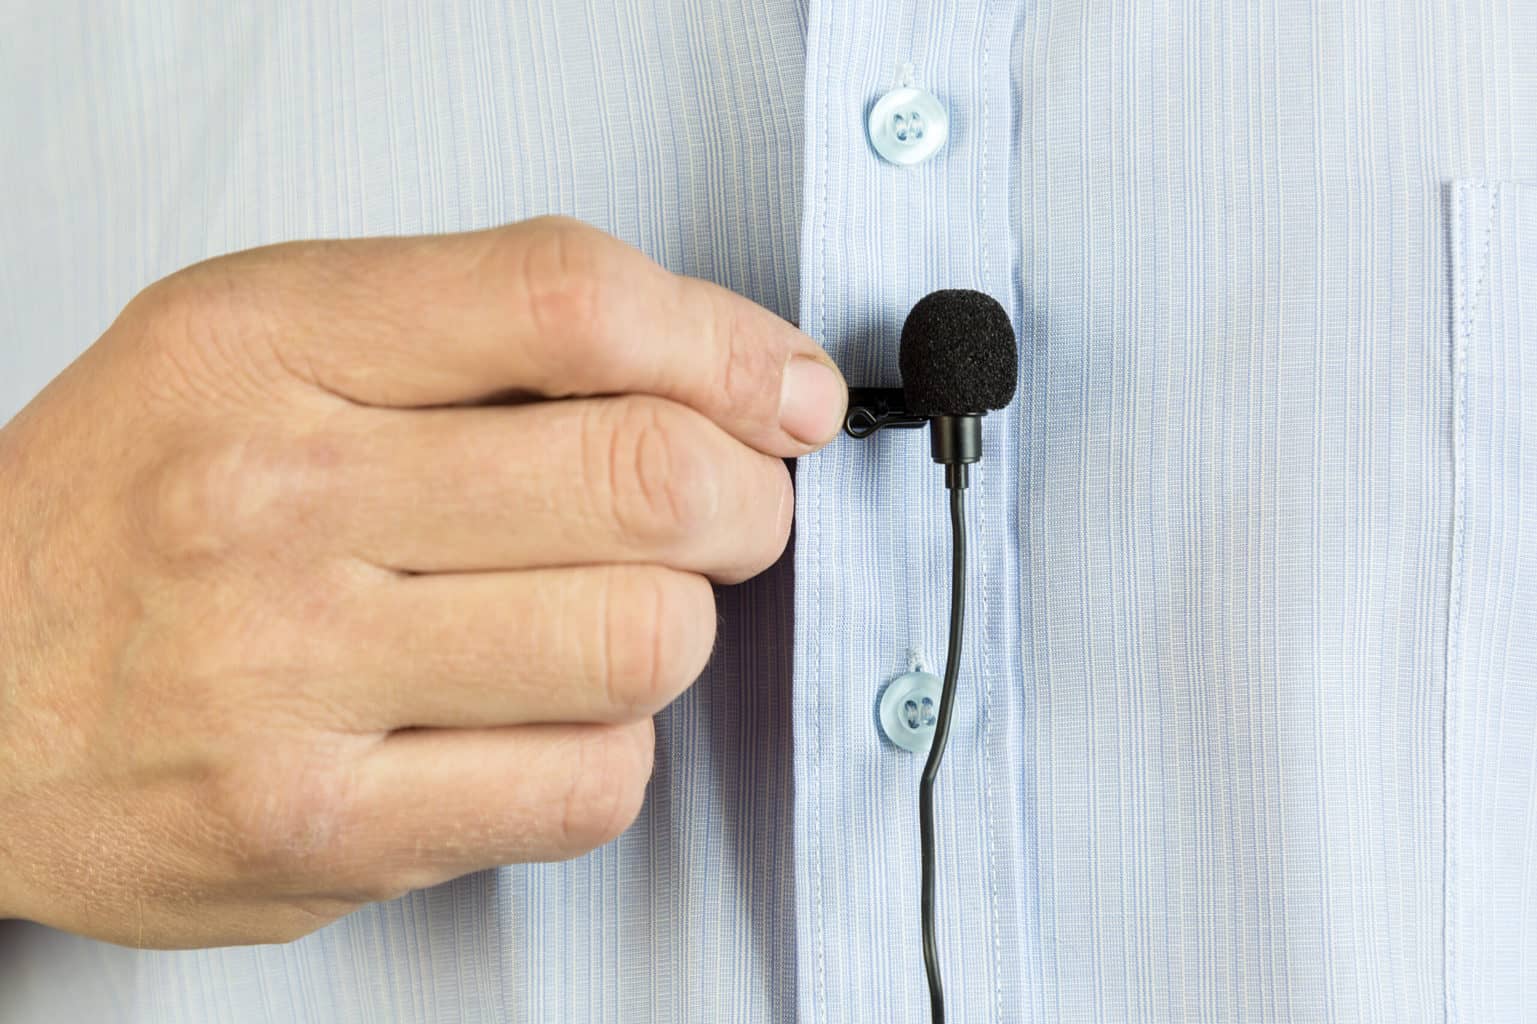
Remember that the closer you place the mic, the better it will sound. It will be thinner when it’s far away from you.
Different types of mics are available, which are only suitable for some cases. So, buy the mic which works for your video.
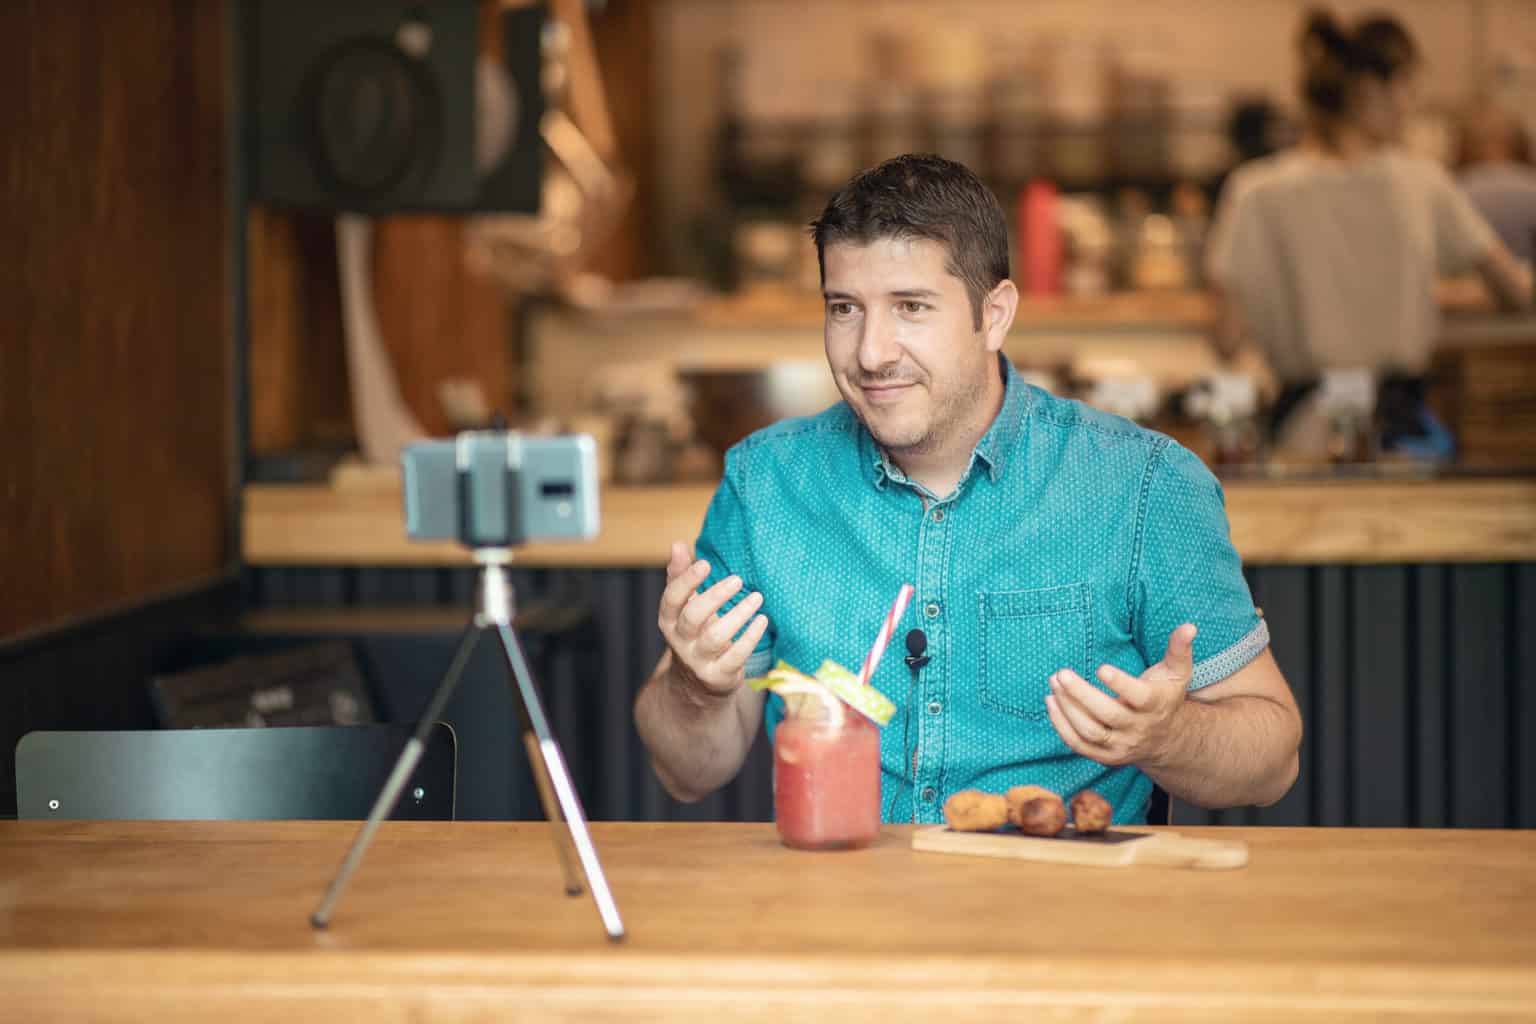
- Lavalier Mic: Small and easy to carry anywhere in your pocket to make professional vlogs.
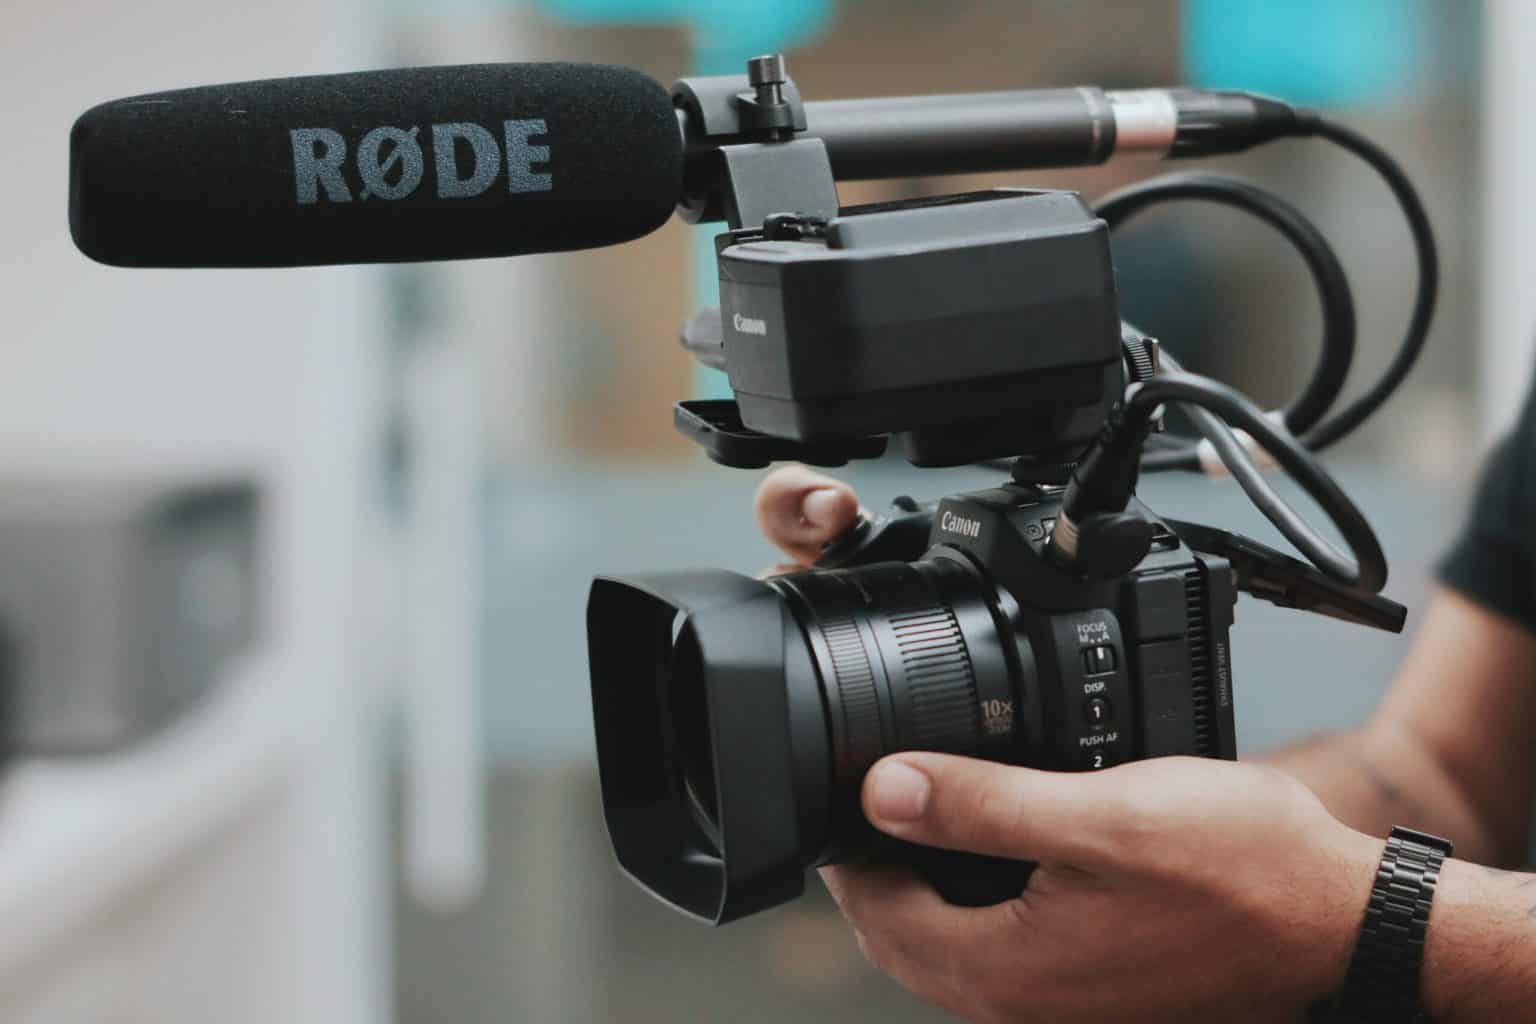
- Shotgun: This one is mounted on the camera top, primarily preferable for DSLR users. It filters out all other unwanted noises in the background.
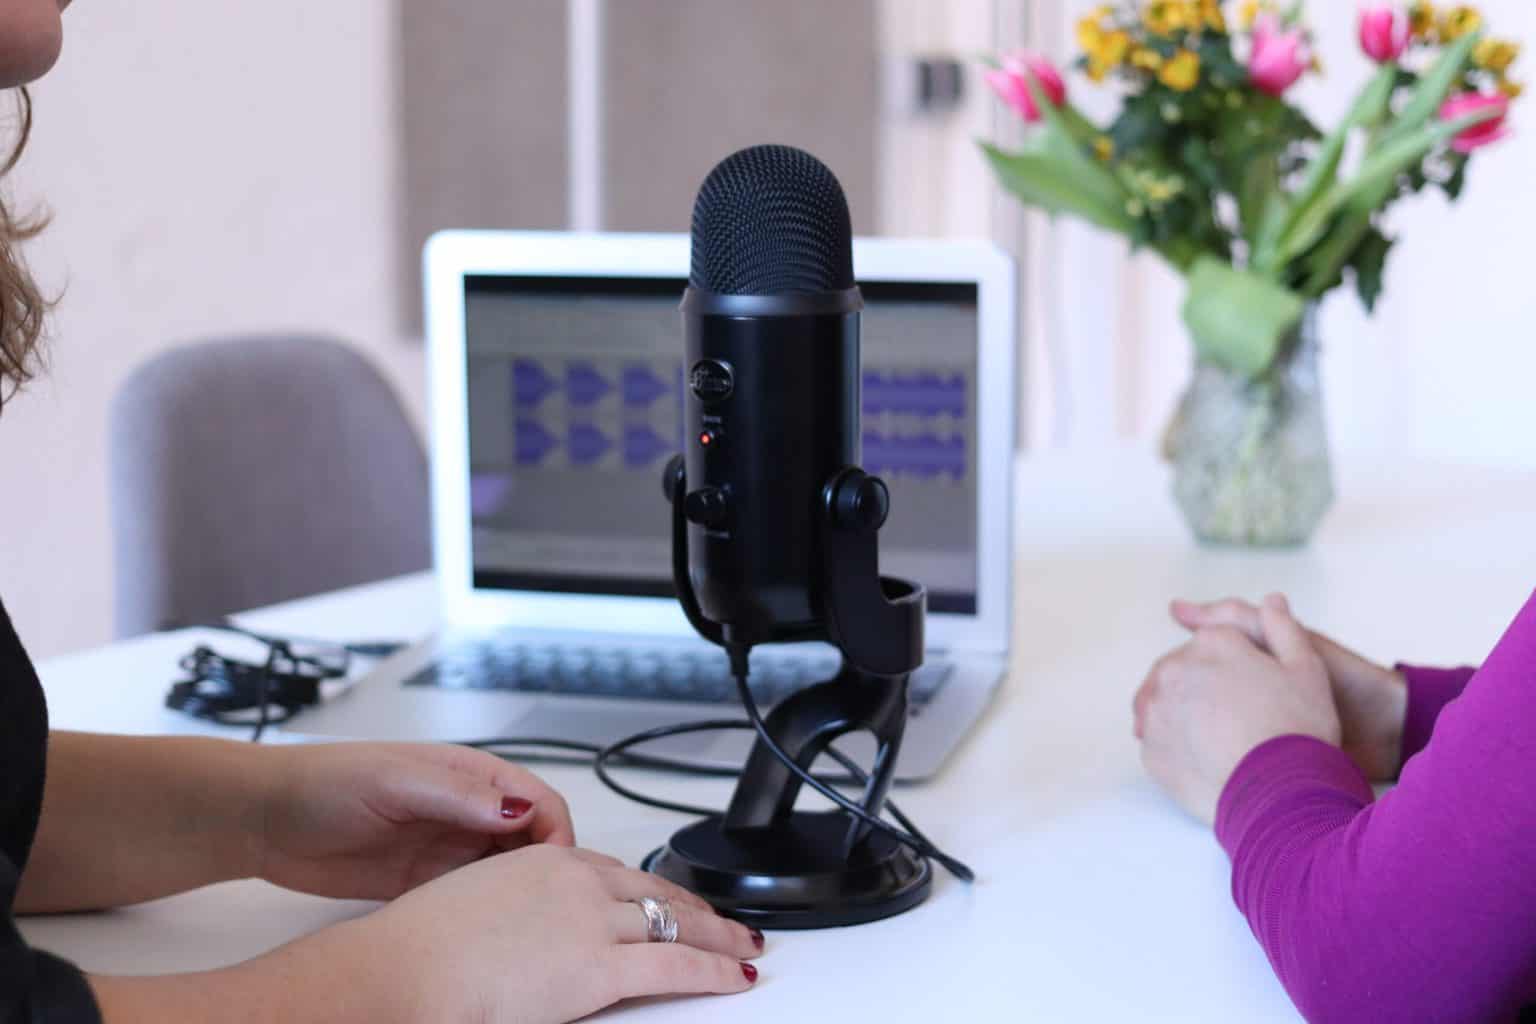
- USB Microphones: USB microphones are suitable for one-to-one interview videos, podcasting videos, and gaming channels.
- RODE Wireless: A healthy chest-mounted mic with the best quality to record audio anywhere without losing subject tone.

As I said before, all the varieties of mic are helpful, but what mic your video needs matters. So, act accordingly.
4) Surrounding Lights
If you are filming a YouTube video outside in the day-time means, you mostly don’t need this option. Because you have massive light on top of you called SUN. Lol!
You should set up these lights on your channel if you’re making indoor videos.
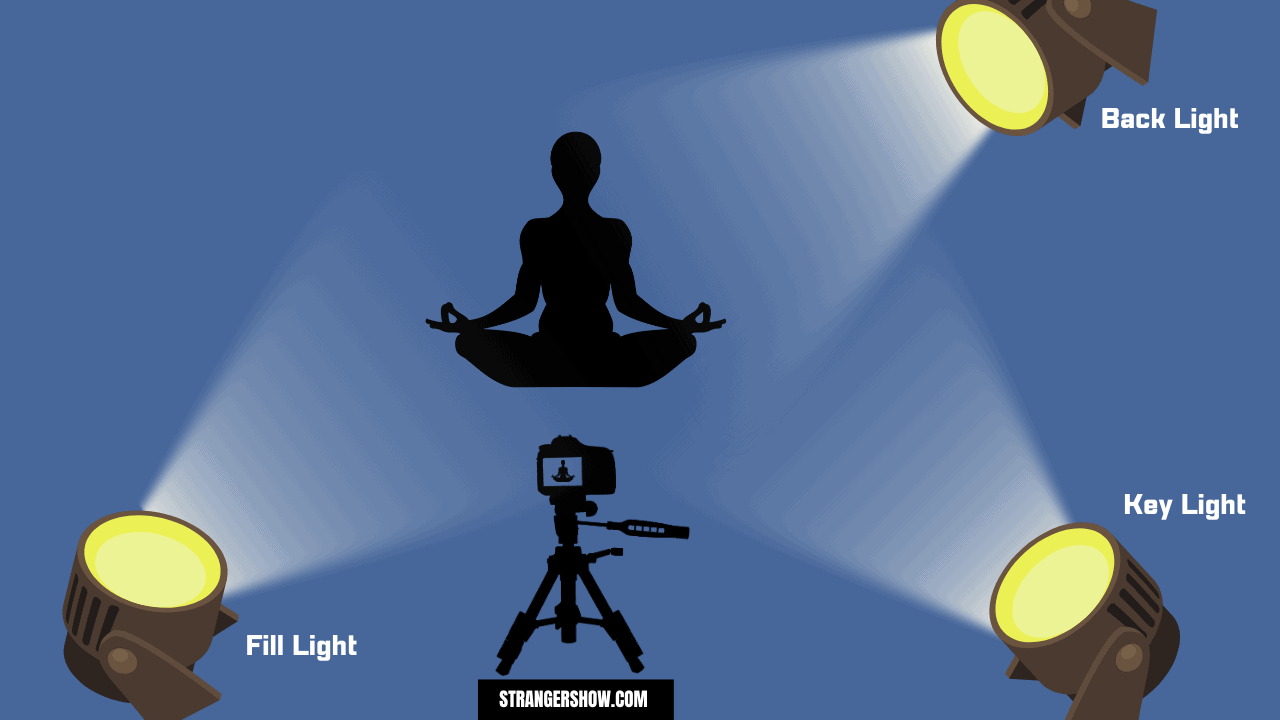
There are three light sources, which is the primary setup for any professional creator,
- Key Light: It is the main light point directly on the subject. You can place it on an angle of 45 degrees on the left or right-hand side of the subject.
- Fill Light: Key lights have more intensity and which leads to leaving the shadows. So, you can use fill lights, which have less intensity than key lights and that eliminate shadows. You can place the fill lights directly opposite the key light at an angle of 45 degrees.
- Back Light: To create the separation between background and subject, you can use the Backlight at the back of the main subject.
The below illustration helps to explain it clearly.
Read the below article for more details on setting up the perfect video lighting.
5) Editing Manners
Once you complete the video shoot, it’s time to edit it to make it more attractive.
I understand you will add music, cut unwanted parts, add filters, slow down some places, speed up specific frames, and blah…
However, when you make a video for YouTube, by default, you have to add a few things that make your video stand alone among your competitors.
And those tips are,
- Add Subtitles: Add your subtitles clearly to support the videos among broader audiences.
- Add Animated Subscribe template: By default, YouTube provides the watermark subscribe button on top of your video. In the meantime, you can also add the animated subscribe template at the center of your video to convert your viewers into subscribers—for example, the below video template from Envato I used on my channel.
- Add EndScreen Space: YouTube loves to keep the audiences on its platform. When your video completes, you are responsible for holding the audience on your channel and keeping them watching your other related videos. To do that, add end screen space at the end of your video during editing and then add the end screen video while uploading on YouTube.
Also, Read the below article if you’re starting a cooking YouTube channel,
Conclusion
This article helps you to film a YouTube video with proper guidance if you’ve not before. Feel free to contact me in the comment section.
Also, subscribe to us on the email list to get regular YouTubing tips.
May we meet again!


