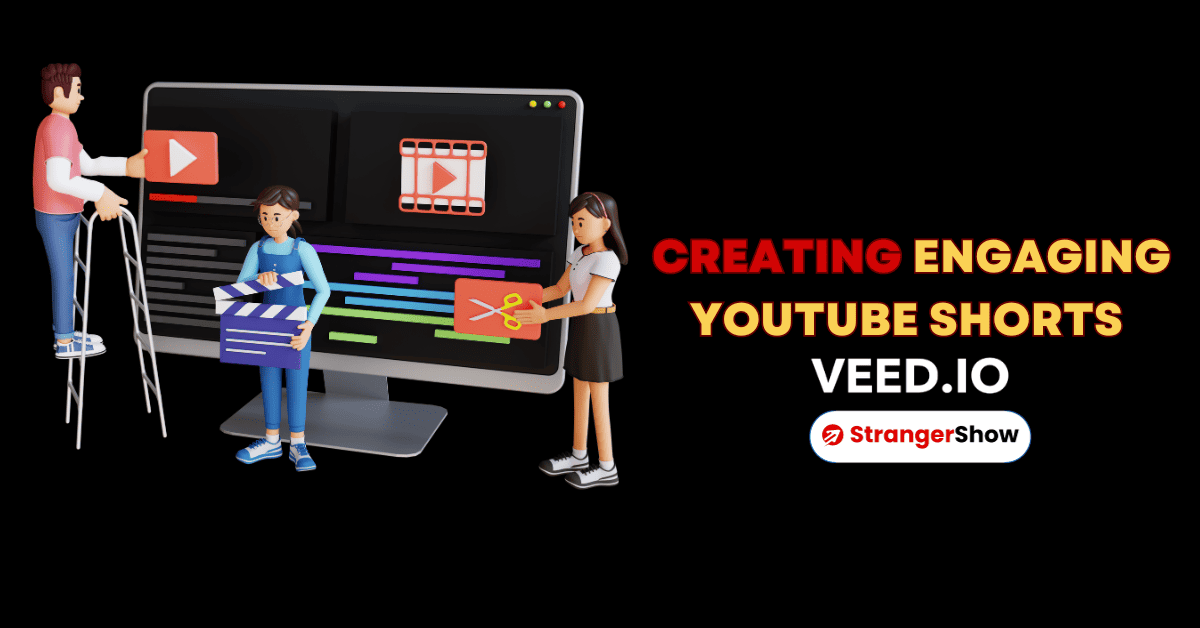
Are you a YouTuber or video editor who’s looking for the best video editing tool? Then, you will love this review article about one of the leading editing tools, Adobe Premiere Pro.
Adobe Premiere Pro is a video editing software application developed by Adobe company in 2003. From its launch date, it has released tremendous and industry-revolutionary features.
This detailed review article will explain whether Adobe Premiere Pro is comfortable editing software for your work, its features, pricing, etc. Also, we will see the best alternative editing application at the end. Stay tuned!
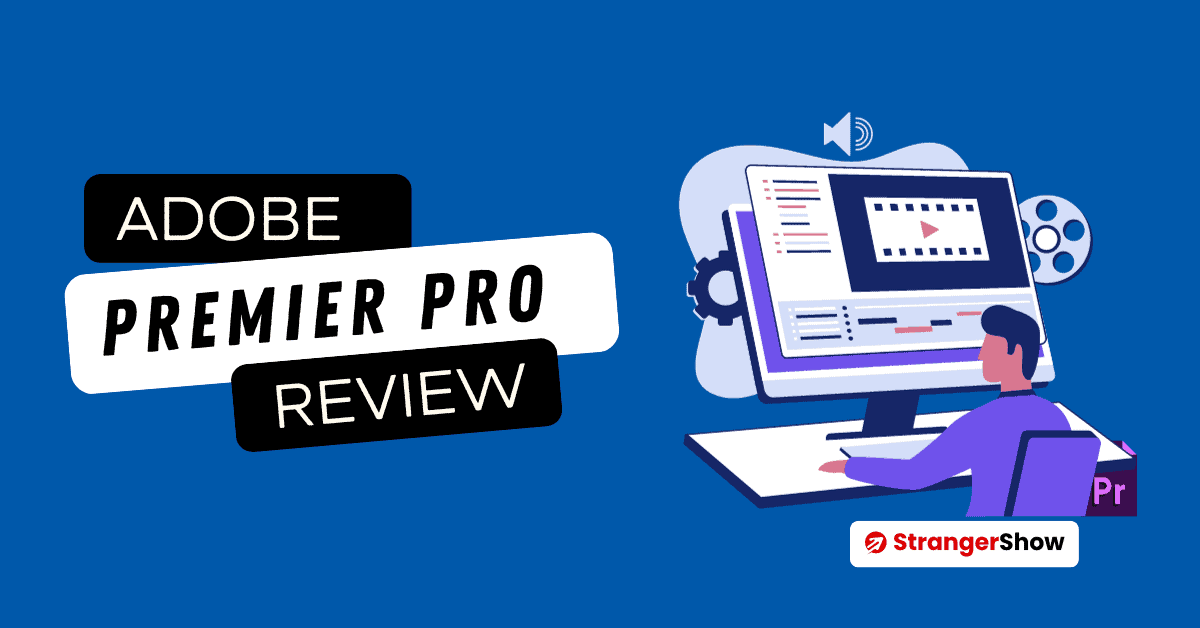
Adobe Premiere Pro Review
Adobe Premiere Pro is not only about trimming, adding music and footage, and speeding up or down audio editing features. It has many unrevealing features that make your video more lucrative.
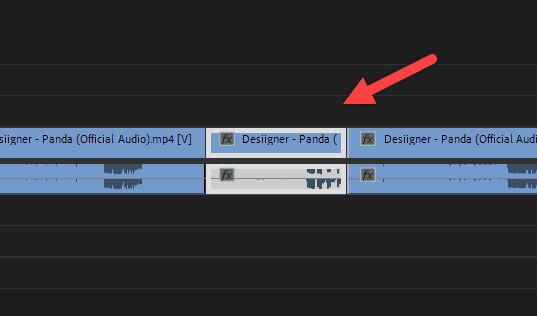
For example, below is the resultant video footage, which is edited by Adobe Premiere Pro software.

Don’t worry; I will list out the majority of the key features of this software, which might enhance your video quality. Also, you will determine at the end whether Adobe Premiere Pro is worth using!
How To Use Adobe Premiere Pro
This video editing software is a desktop version. All you need to do is go to Adobe.com and download the desktop version of it initially.
Once you download it, kindly install it on your computer, and most importantly, Premiere Pro (this review) supports both Windows and MacOS.
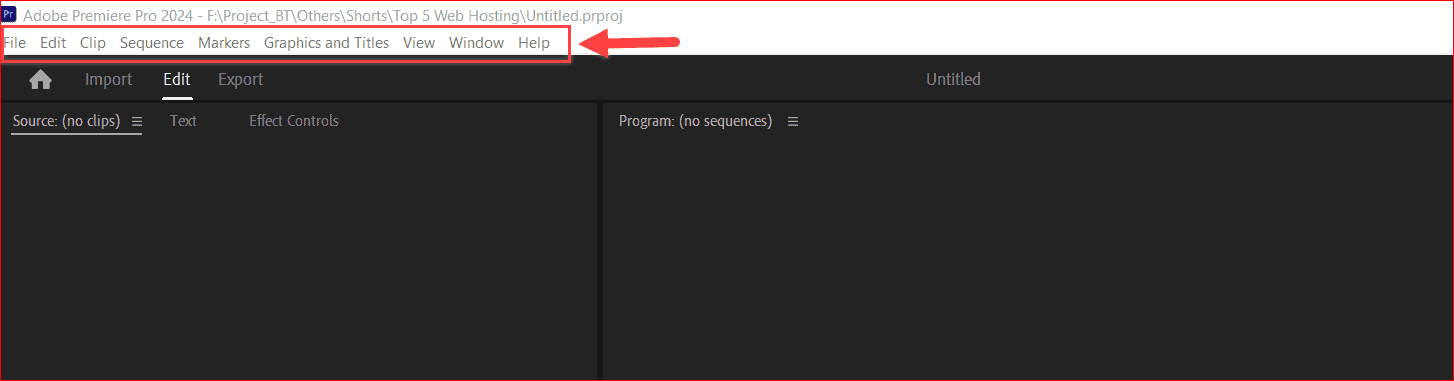
You will see the following image as your first appearance once you open the Premiere Pro software on your computer.
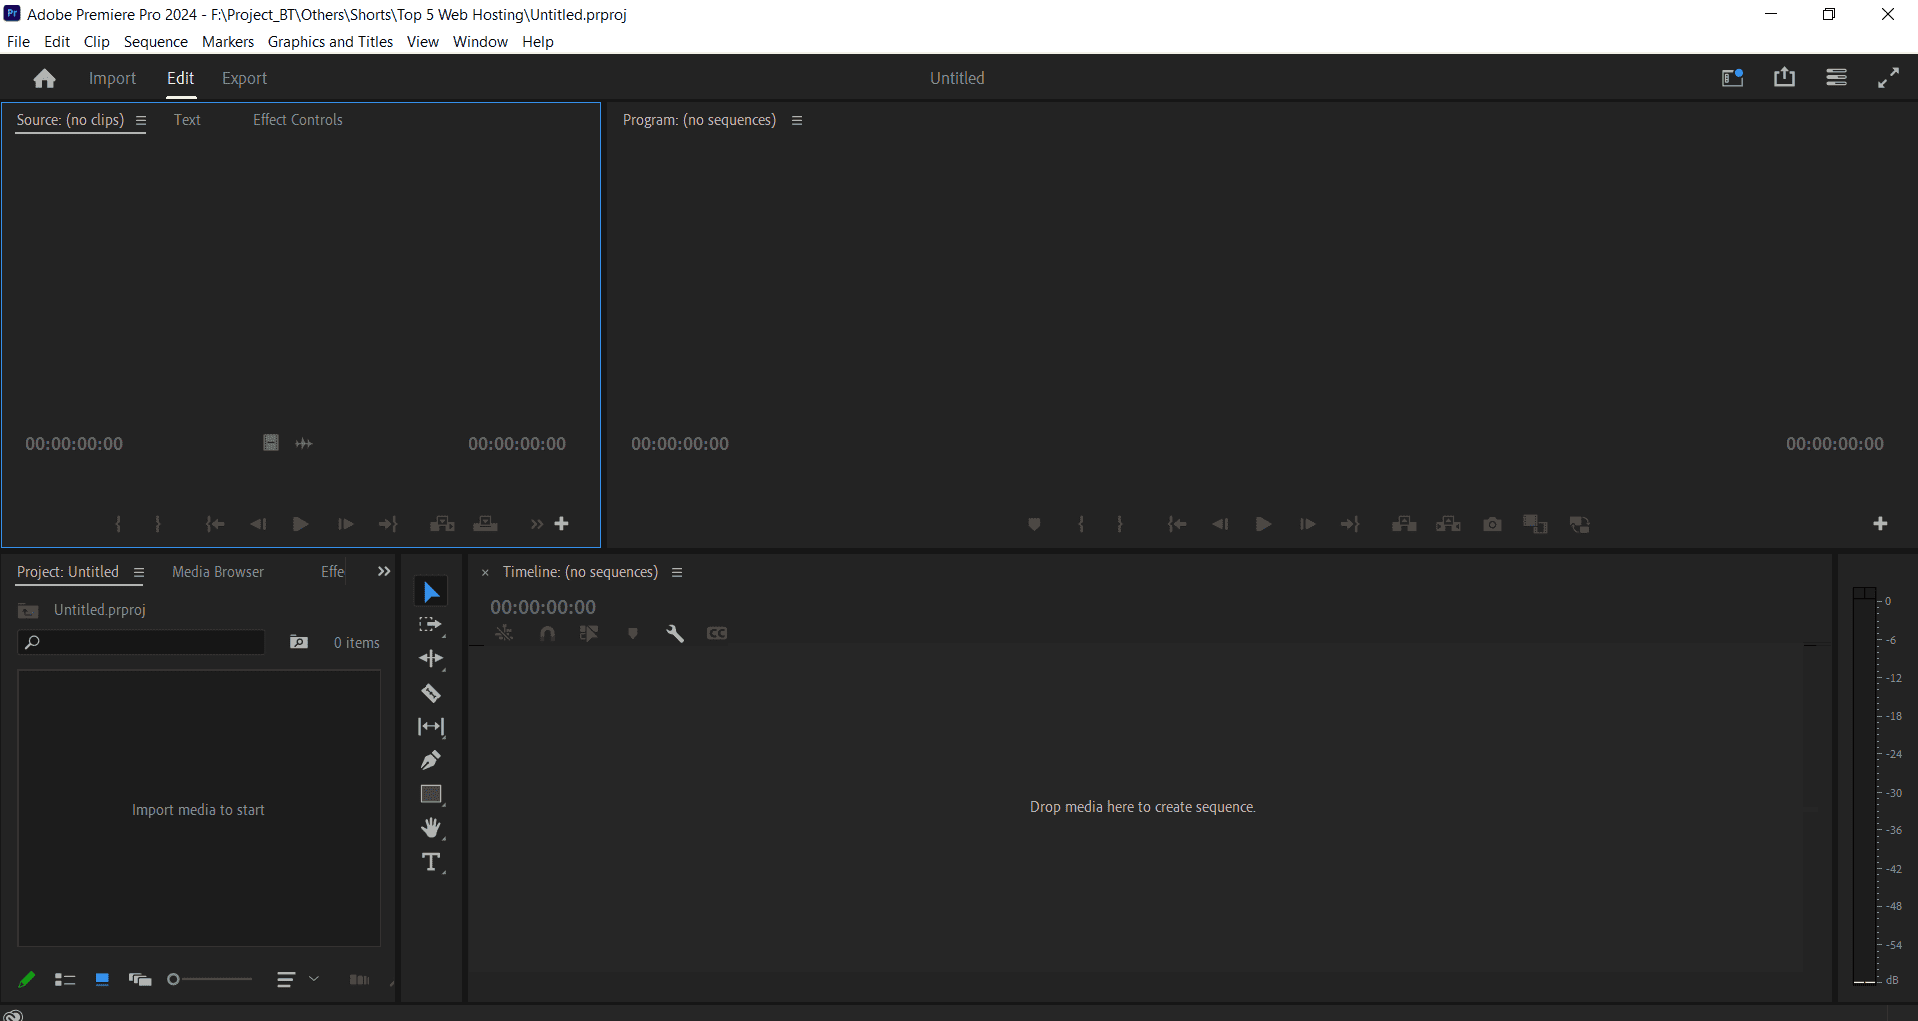
On the top of the application, it has general toolbars like File, Edit, View, Graphics & Title, Windows, etc.
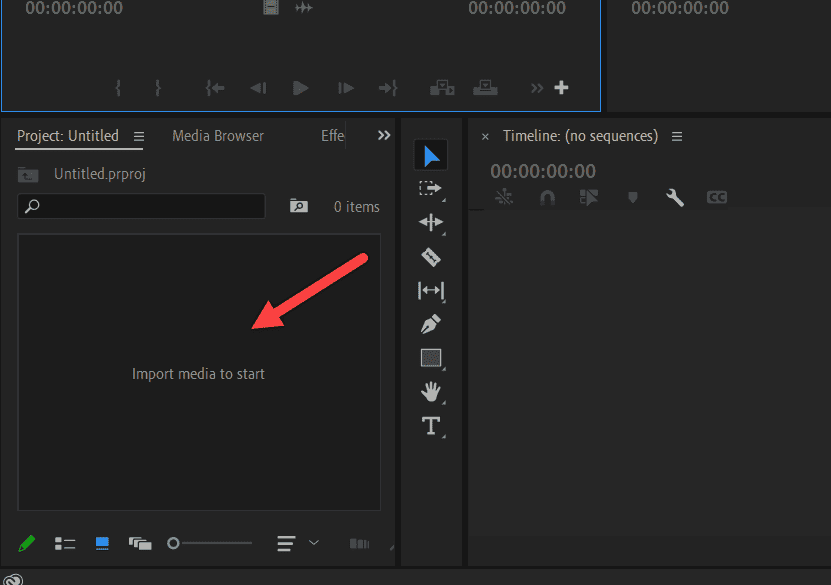
You will see the “Import Medi to Start” on the bottom left. You can add your media files like video, audio, images, and other graphic elements here.
Once the media files are added, you can drag and drop them on the right-side bottom timeline, where you will run the video frames.
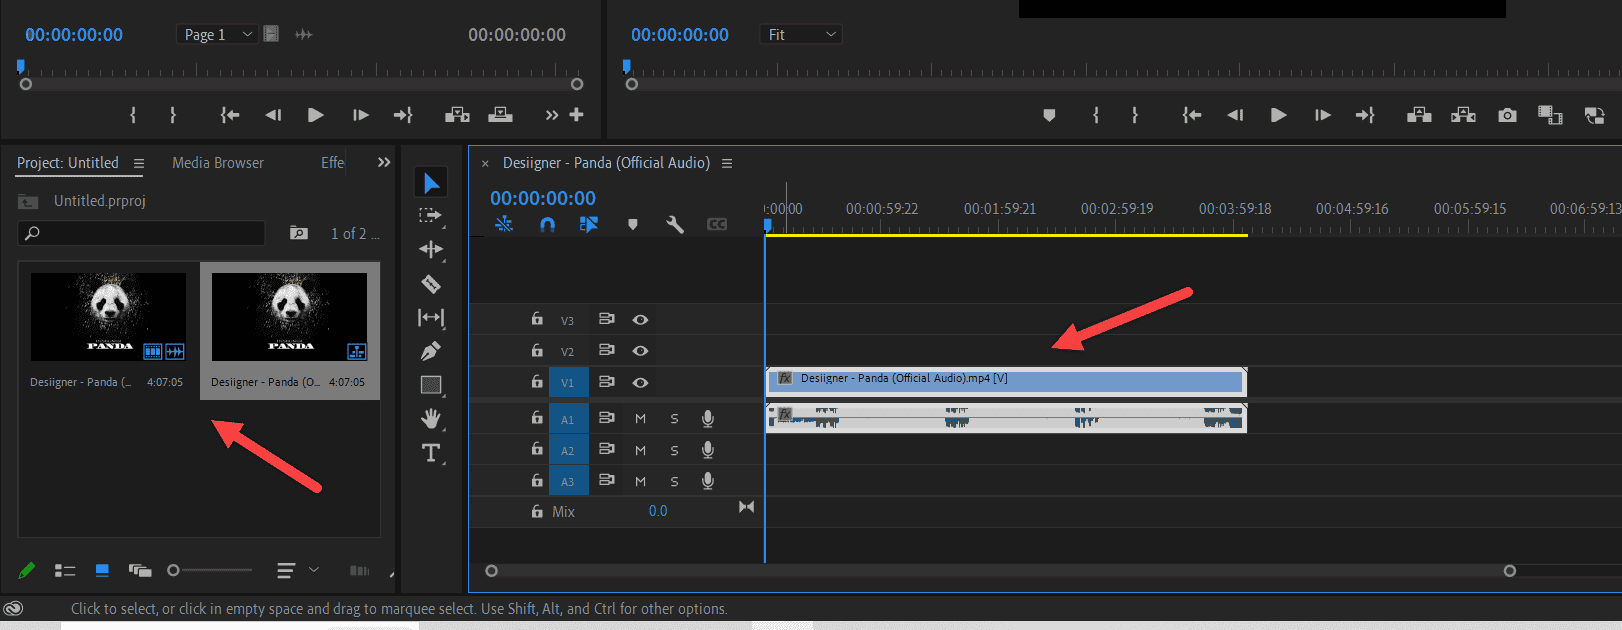
As you see, it defines (V3, V2, V1) and (A1, A2, A3) – those are the video and audio file frames, respectively. It’s all your choice to add the video and audio files on different tracks.
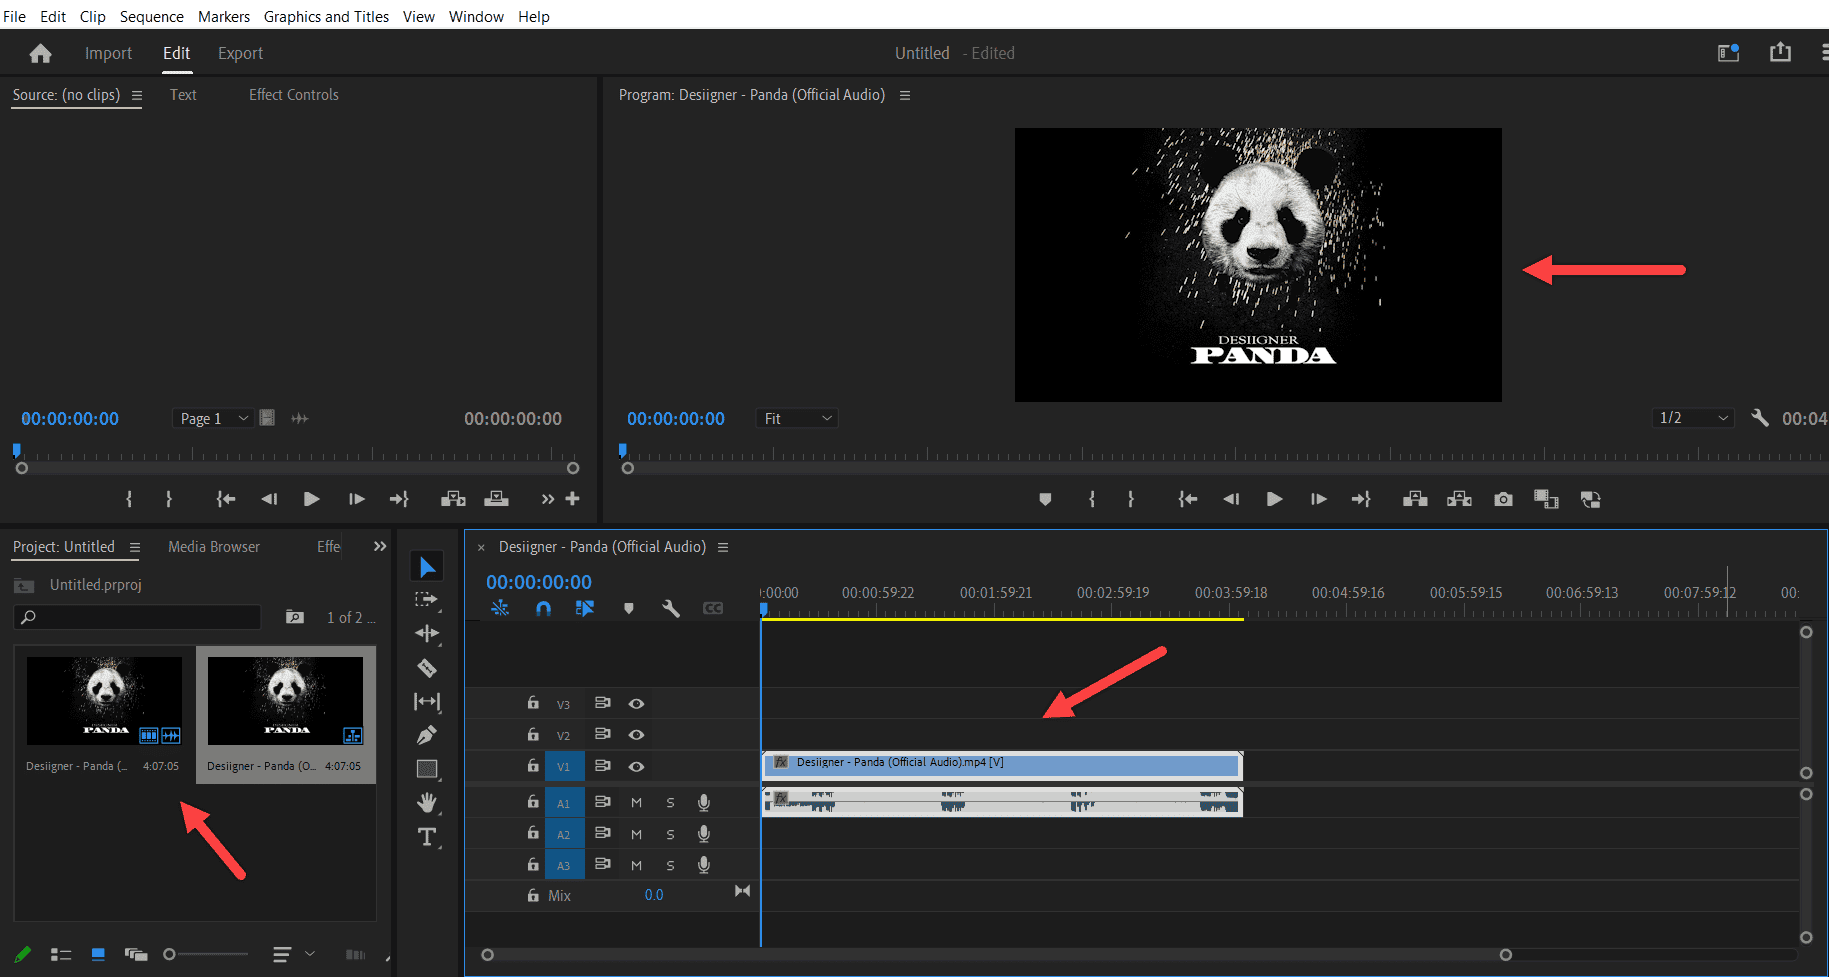
After you add the frames, the output video will display on the top center. You can play, pause, forward, backward, etc on it.
The above processes are the basic features you will use on every video project you create.
As a beginner, it looks complex, but it’s the right way to do the video editing process, and you will love it soon.
Advanced Settings
We discussed the basics of importing the projects, playing it on, etc. Now, let’s see some of the additional settings that Adobe Premiere Pro has in this review article.
Common Panel
Under the standard panel, it has more handy options in the icon format. For example, selection icon, razor tool (for cutting and trimming the area), slip tool, Pen Tool, Rectangle selection area tool, Type Text, etc.
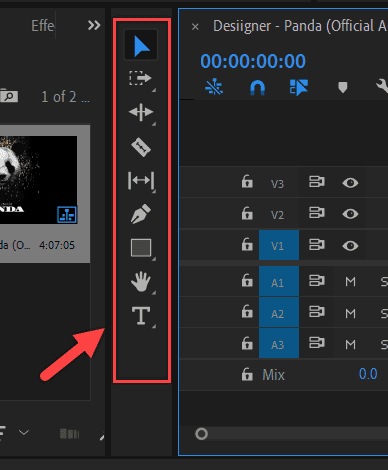
In a nutshell, the video editors must use the shortcut icon tool directly on the common panel instead of searching under the tools area.
Effects Control
The general video transition effects, audio transition, and video & audio effects are under the Effects control panel.

If you need more clarification, read the video transition effects & control usage.
In addition to that, it has the best Preset effects control like Fast blur In, blur Out, Video footage edges graphics effects, etc.
A lot more effects on video and audio settings come under the control panel. In the comment section, let me know the best transition effect and others can utilize it.
Essential Sounds
Since it comes from Adobe Stock, it has a lot of filters, Moods, and Genre – as a video editor, you can customize most of the things on this page alone.
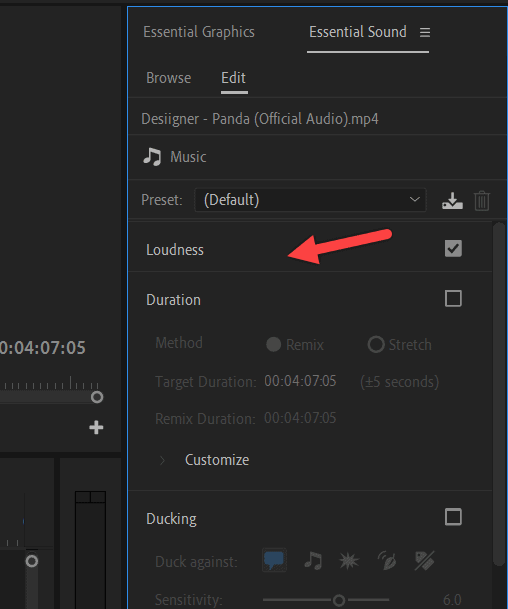
Additionally, depending on the footage selection, you can do the audio mixing, enhancement, SFX, etc.
All the fine-tuned settings of voice-over, music, and sound effects control can be done on essential sounds.
Essential Graphics
Well, to be honest, I have to write one newspaper-long article about Essential Graphics settings on this Adobe Premiere Pro Review alone.
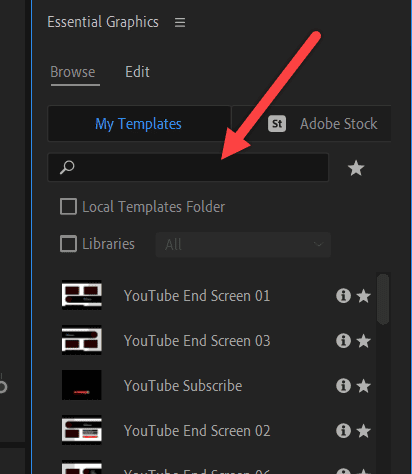
In a nutshell, if you’re downloading the images or graphic elements from the third-party apps like Envato Elements tools, you can customize those designs and enhance the graphics under Essential Graphics.
Quick Export Quality
Once the entire video process is done, all you need is high-quality rendering video with less export time, right? Let me give you a trick to achieve that. Firstly, you might have duplicate or unused files under your media folder.
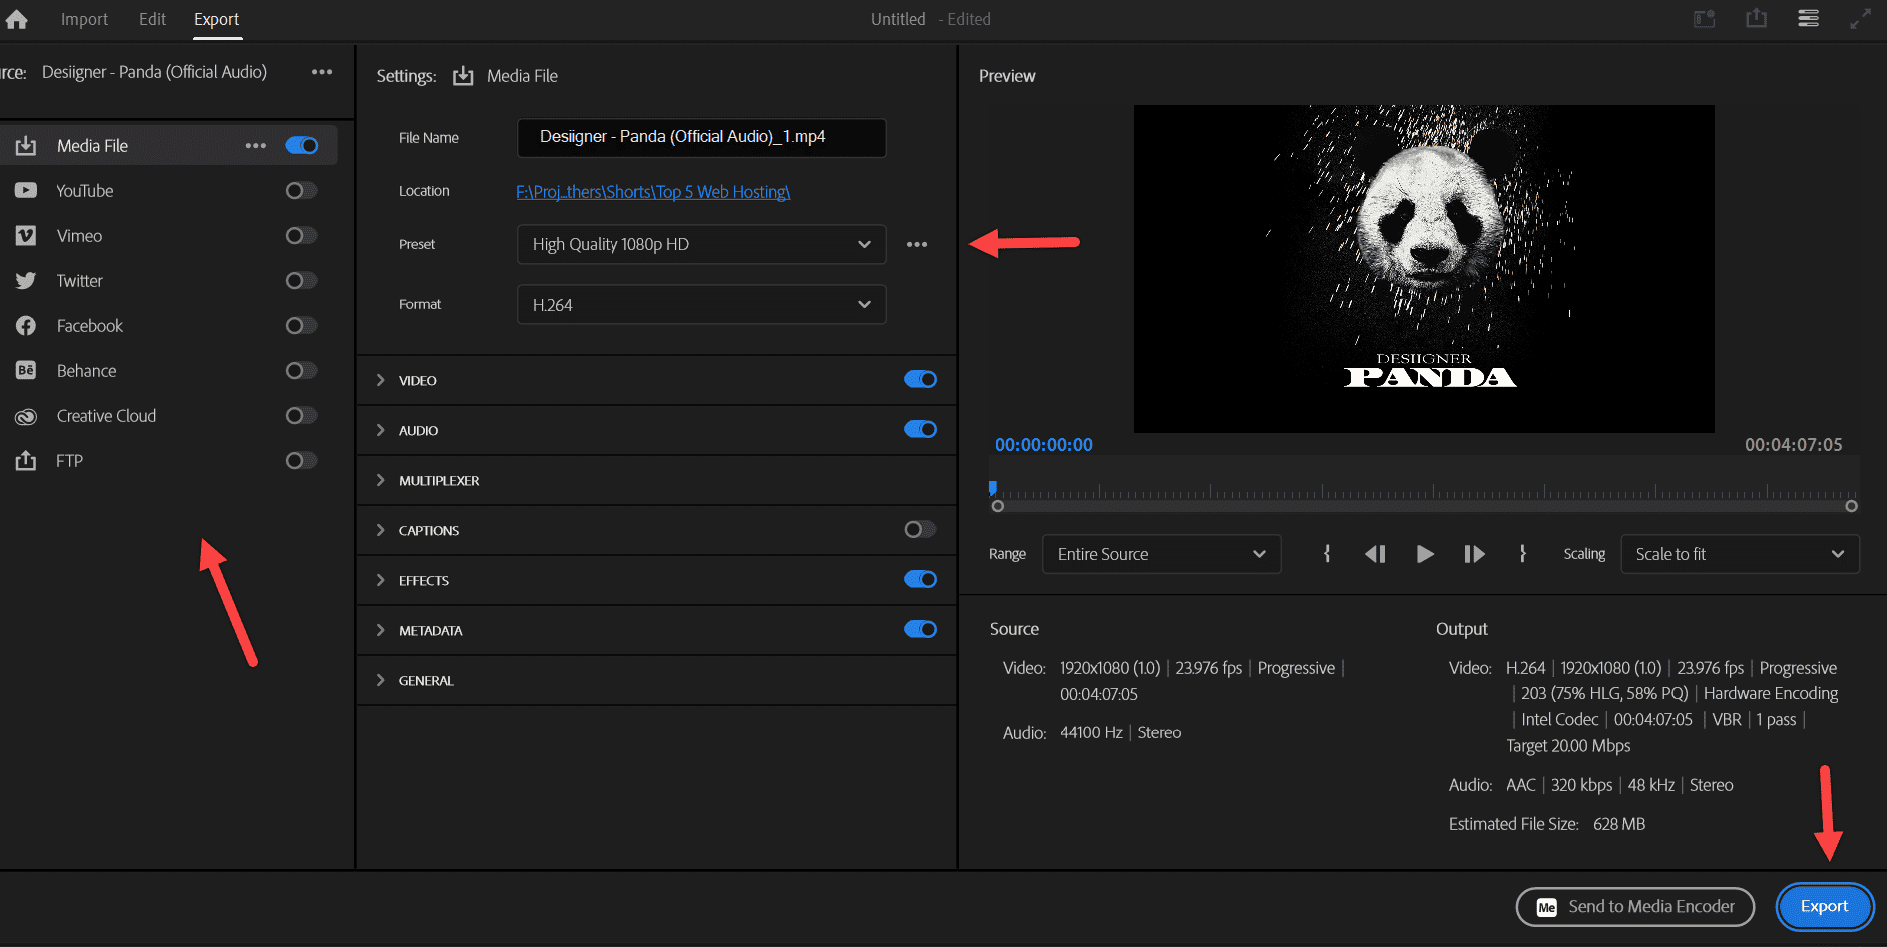
We need to remove those because Premiere Pro will automatically render and consume the memory storage, leading to more exporting time for bigger projects.
To do that,
- Go to Edit and Select the Consolidate Duplicates option.
- After that, select the Remove Unused option.
It will remove and delete all the duplicates and unused files on the selected media storage.
Moreover, as a content editor, you can export video files in different formats like GIF, AVI, and Animated GIF with varying frame sizes, frame rates, ratios, resolutions, etc.
If you’re creating videos for a YouTube channel, then 1080P resolution is the best target.
Also, Adobe Premiere Pro has an inbuilt option to publish the exported files directly to specific social media platforms like YouTube, Twitter, Vimeo, TikTok, etc.
Feel free to let me know for which medium you’re editing your videos in the comment section. OK, let’s see some of the top Premiere Pro Features in a short in the below chapter.
Premiere Pro Features
Note: As mentioned earlier, this software updates its features regularly, and when I’m writing this article, it’s currently under the 24.0.3 version.
Razor Tool
Trimming the footage is an everyday activity on any of the video editing software, and in Premiere Pro, it’s pretty handy.
You will see the blade icon on the menu side on the sequence tab. Click that and select the footage where you want to trim.
Once you have done that, click the trimmed area and click the “delete” button on the keyboard, or right-click on the footage and select “Clear.”
Pen Tool
When the video ends, it should give the sense to the audience that it “looks like the video is going to end” without watching the timeline.
To achieve that, we must slow down the background music at the end of the video (a few seconds before ending).
One of the best and easiest ways to do this on Adobe Premiere Pro is using the Pen Tool.
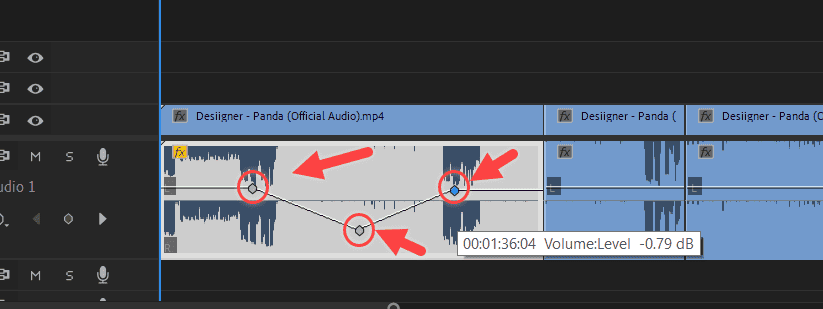
You can use the Pen and make the toggle points on the music frame. Either you can up the audio dB or lower it.
Refer to the image above. It’s easier than you think, and you can achieve it on the Premiere Pro editing tool.
Text with Background
It’s easy to write the text on video editing tools. But to make some enhancements to it is more challenging.
With the Rectangle tool on Premiere Pro, you can add the text on top of the rectangle border and adjust the background border color to whatever you want.
For example, in the below image, I added the red background border with a white Text layer.
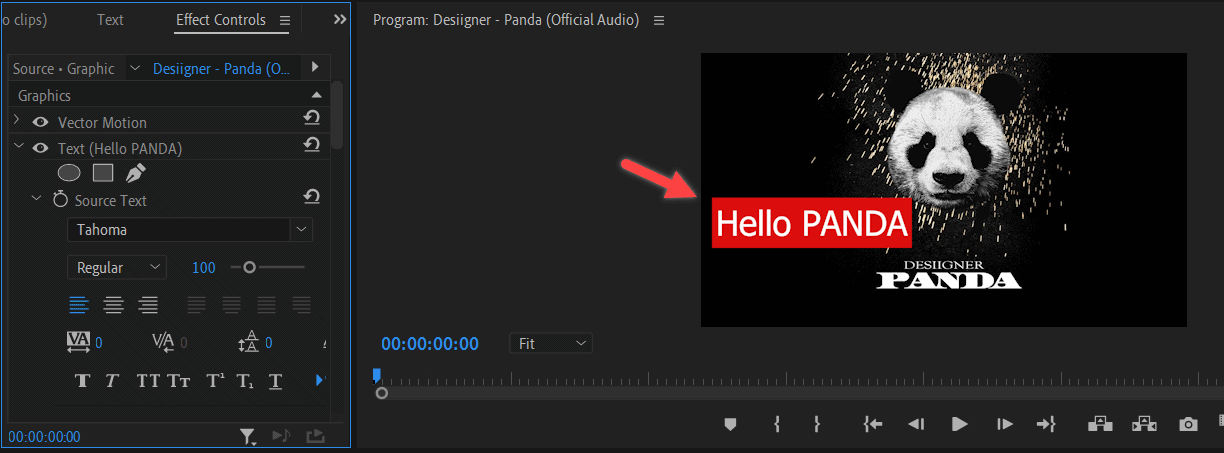
Moreover, on the text layer, you can edit and adjust the text alignment, font, font style, size, Bold, Underline, Superscript, Subscript, etc.
Remix
Let’s say you have a video and background music audio from different timeframes.
For example, the video length is 5 minutes, but the audio length is 7 minutes. 2 minutes longer, right?
Well, don’t worry. With the simple Remix option, Adobe Premiere Pro will automatically adjust the audio frame to match the video time length.
You don’t need to cut the frames, times, or trim the music, and so on.
Do the settings by:
- Click the Audio frame and go to Essential Sound.
- Check the Duration option.
- On the method, click Remix.
Speech To Text
Almost all the videos now come with Subtitles; if you’re missing that on your video or editing skills, then you are one step behind update.
Understanding the audio, typing the text, and finally adjusting them on the video footage is a traditional and old model way.
When you have Premiere Pro, then it’s straightforward with a few clicks by their Speech To Text feature.
Besides English, it has multiple languages like German, Spanish, French, Japanese, and Portuguese.
Once the captions are created, it will automatically add to your video footage with the Subtitles option.
In the meantime, if you need to adjust the caption text colors, fonts, and a few more properties, then you can do it. Also, you can add the speaker names on the properties, which will be displayed as an option.
Note: If any mismatched words are in the generated subtitle, you can edit that particular word.
Audio Synchronize
Let’s assume you’re recording the video and audio separately. When you match the video with audio, you will miss the lips sync, right?
When you’re using Premiere Pro, you don’t need to care about it anymore. It has a Synchronize option, leading to syncing the audio with the proper video lip movement.
Do the settings by:
- Select the Audio and Video frame
- Right Click it and choose the Synchronize
- Select the Synchronization Point as a Start Point and click OK.
Dynamic Background
One of the exciting video editing options is adding a different or dynamic background on the video layer.
The question is, “Can I remove my current video background and attach my new adorable background on Premiere Pro”?
The answer is Yes, and it’s just a 30-second process, too.
Audio Enhancement
If you’re recording the audio with a low-quality mic or noisy background, then how to enhance it on Premiere Pro? First of all, is that possible?
Yes, it has an audio enhancement feature, which helps to reduce the noisy background and provide better audio quality output.
Moreover, when your voice has a harsh “S” sound, it can be reduced on Premiere Pro with the help of DeEss, too.
In addition, Premiere Pro has DeHum, Loudness control, Clarity improvement on voices, etc.
Do the settings by:
- Select the Audio file
- Go to Essential Sound and Select Dialog
- Under there, you will find Enhance Speech.
- Inside Repair -> Reduce Noise, DeEss, DeHum, Clarity, etc.
For more valuable and advanced features, kindly refer to the below article.
Green Screen Editing
We have seen or heard many films are shot on Green screen mat. The reason is that they hope Premiere Pro takes care of the remaining part.
Yes, once you shoot the footage with a green background, the remaining things to add the best experience are straightforward on this video editor tool.
Using the Ultra Key option, you can easily remove the green background with one or two clicks and add your own video or image footage.
Auto Color Correction
You might face color differences on different frames when you shoot the video from different angles with multiple cameras. It’s not the best thing on the output video.
This Premiere Pro Review comes with an Auto color correction feature to overcome that.
Pricing
What is the cost of Adobe Premiere Pro today? Is there any free version available?
Adobe Premiere Pro comes with a 7-day free trial for beginners who want to explore it.
And for business-level creators, it has a 14-day free trial period.
Apart from trial versions, it has no free or crackable version to download and use.
The cost of the premiere cost comes with different versions.
- For Individuals: $22.99/month
- For Business: $37.99/month
Also, depending on your needs and team size, you can use any of the above plans.
Adobe Premiere Pro Review: Is That Worth Buying?
I have been in the editing and video-making field for the past 7+ years. Generally, I used Movavi Video Editor, Core Video Studio, Final Cut Pro, and related editing software apps.
But among these all, Adobe Premiere Pro stands alone compared to all with its endless features. Generally, for beginners, it doesn’t look very easy to use.
Don’t worry; 1000’s tutorials are available on YouTube, and you will get the solution to your doubts in a few minutes. Moreover, on initial days only you will face this trouble.
Apart from that, this video editing software is best for YouTubers, filmmakers, and content creators.
Adobe Premiere Pro Review:
My Rating: 4.7/5
Adobe Premiere Pro Alternatives
When Adobe Premiere Pro Review is good, it does not mean other alternatives are bad.
The best competitors are available online to improve the Premiere Pro and others, too. Let’s see some of the best comparisons of this video editor.
- iMovie
- Final Cut Pro
- DaVinci Resolve
- Filmora
- Camtasia
- Corel Video Studio
- PowerDirector
Also, Is there any of your favorite I mentioned, or did I miss anything?
Conclusion
In conclusion, feel free to contact us by mail or through our newsletter for any doubts or clarification before buying Adobe Premiere Pro, and I hope this review article clarifies your doubts, too.
Use the free trial version initially and proceed further if you need clarification.
Finally, in the comment section, let me know which software you’re using all these days to edit the video or how good it is.
Related Articles:
Thank you, Strangers.