Creators like you spend $1000’s to buy brand-new cameras for vlogging. It depends on their experiment and project. I appreciate your planning to shoot professional cooking videos with your phone.
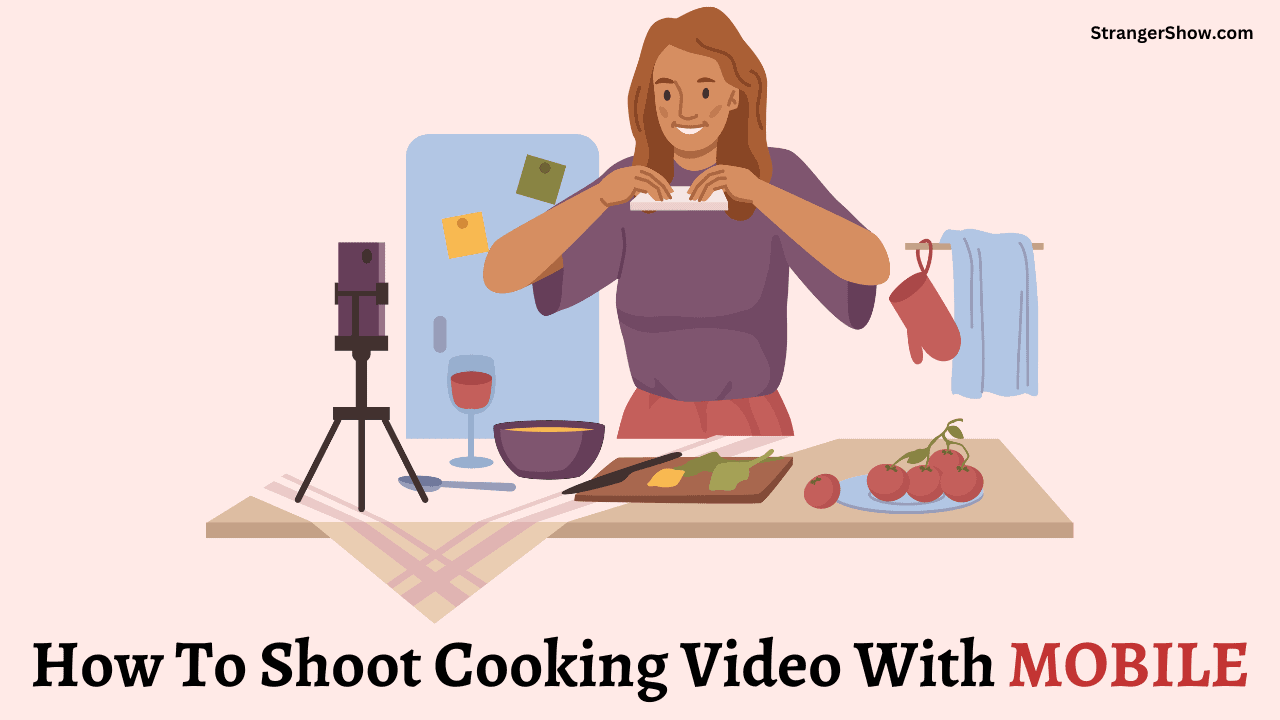
Contrariwise, some use mobile as their primary video output source for vlogging.
Firstly, you don’t need those $1000+ expensive camera’s to make professional videos. In a nutshell, your mobile camera is enough to make all the video magic.
So, in this article, you will learn how to shoot better cooking videos with your phone.
How to Shoot Cooking Video With a Phone
1) Camera Set up
Before you start recording, make some adjustments to your Camera Settings to enhance the recording quality.
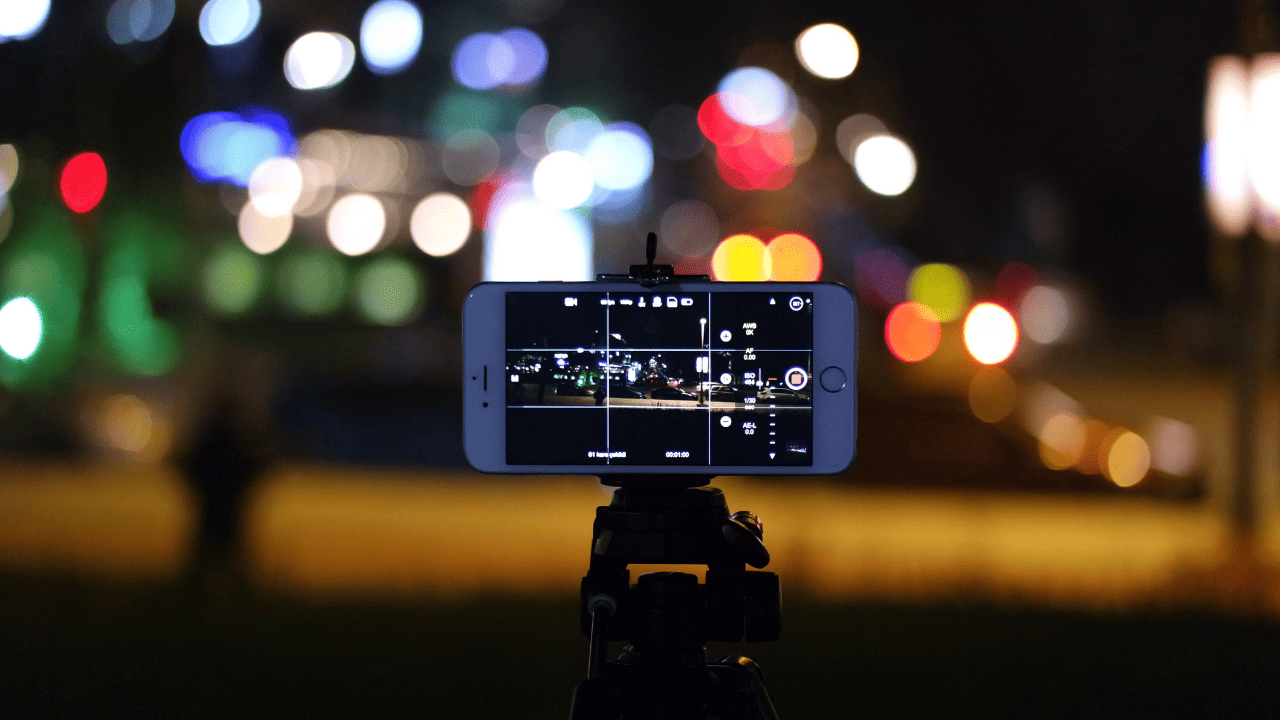
Your mobile may be Android or iPhone; these settings are standard for all devices.
First of all, record the video in 4K or HD mode. Once audiences watch cooking videos, they mostly try to replicate the same in their kitchens.
So, the video must be of better quality without glare or strike. Standard HD or 4K mode helps you to achieve it.
Nowadays, most mobile cameras support high-efficiency slo-mo mode. Regarding cooking vlogs, sometimes slow-motion videos pull the audience’s attention more.
For example, check out the below video.
The guy used added slow-mo modes in this video for better engagement.
2) Video Angle
As we are shooting cooking videos, it requires more angles to shoot, even with a phone.
You’re making a recipe that is helpful for creators in many ways.
For example, viewers want to make special food for their loved ones or new guests to get their attention.
First, the food must look in good shape before it tastes well.
So, as a creator, you must project the recipe output from different angles.
Ok, which angle should I take?
You can follow the below-mentioned video angles on your cooking video with the phone,
- Top Angle: Place your Tripod and shoot the video from the top angle while cooking. With this view, the users can visualize what is happening on the Tawa.
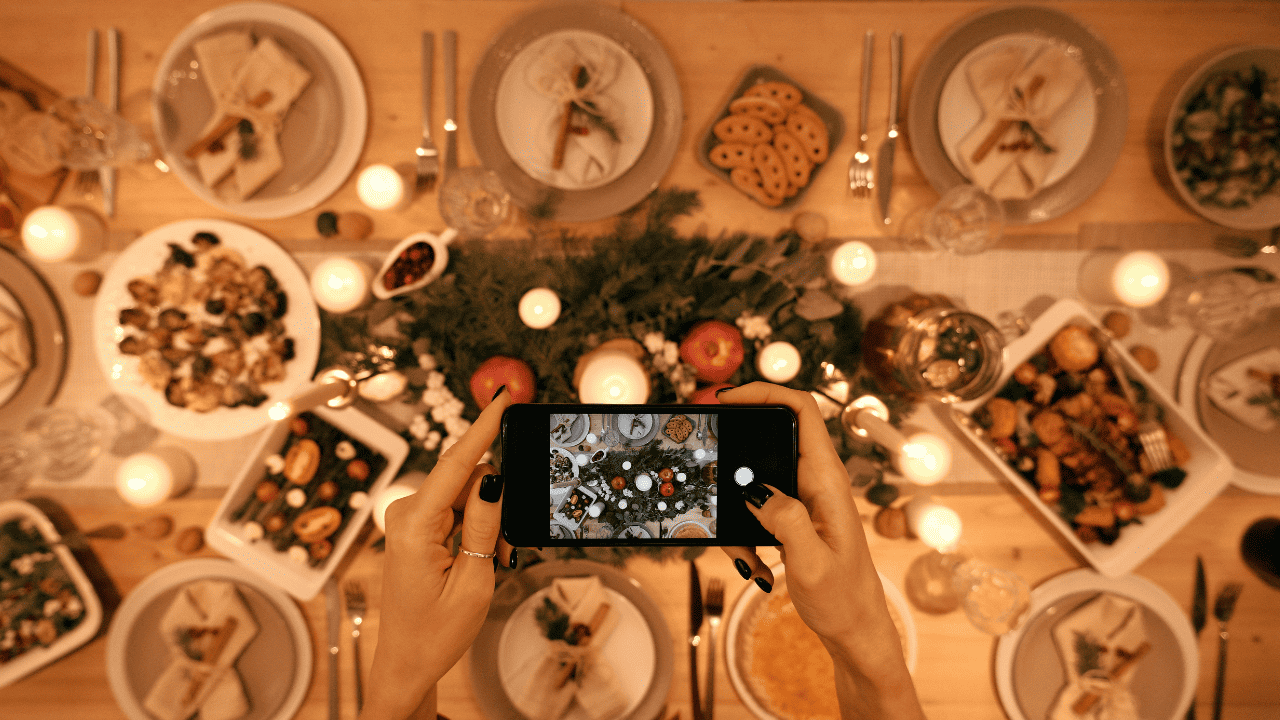
- Medium Shot: When explaining the recipe details or the introduction, use a medium shot.
- Close-up: Always make a close-up shot when the recipe is ready. This final close-up shot example is like the below video.
When you follow up the above techniques, the video will not get boring. Moreover, users don’t care which device they’re using to record the videos or how they shoot them and all… All they need is value from your video.
Moreover, you may need tripod support to achieve a top-angle shot on your videos without shaking. If you’re able to afford it, refer to the low-cost and high-quality tripod below.
3) Lighting Effects
Light source plays a vital role in vlogging. If you’re vlogging outside mean, natural light is enough to bring all the brightness to your video.
But for cooking videos, mostly, we do it indoors. So, we need to give quiet space for our lighting effects.
Generally, when a video with low brightness (dull) makes the audience dig for what you’re doing in the video, to avoid such things, use proper lighting setup for your cooking video, even if you record it from your phone.
In short, use RingLight with your mobile to create brighter video content.
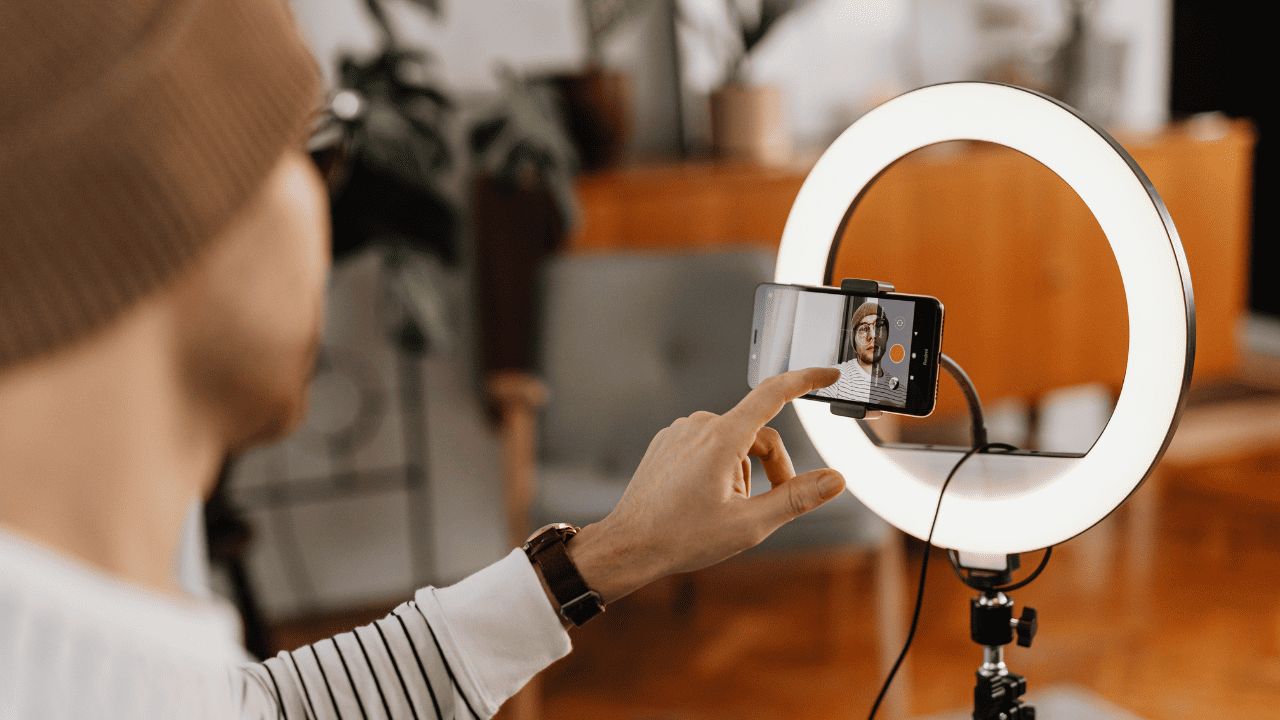
Ring light comes under different ranges based on quality. From our analysis, we found the affordable and quality ring light here,
If you can’t purchase it, use your natural LED room lights or even use more natural window lights.
4) Background & Table Manners
When it’s a high-cost camera, we can adjust the background projection based on it.
But with a mobile camera, we must modify our background manually. All you need is to remove the backgrounds that are not useful for the video.
Make it a white-background wall or screen or tail in the cooking area. If it’s already good, then leave it.
In addition to that, clean up your cooking table neatly. Food comes with hygiene. So, remove the unnecessary trays and vessels, clean the wastewater, etc., for your vlog.
Keep it crystal clear.
5) Ingredients
Arrange your recipe ingredients on the tabletop to fit into a mobile frame.
For example, if you’re making sweet corn chat, you may need lemon, tomato, sweet corn, chili, etc.,
Your first step should be to arrange these ingredients on the table and explain their quantity to the audience. The proper presentation requires proper structure.
Add a close-up shot of each ingredient and explain how much the user needs it to make for one or two people.
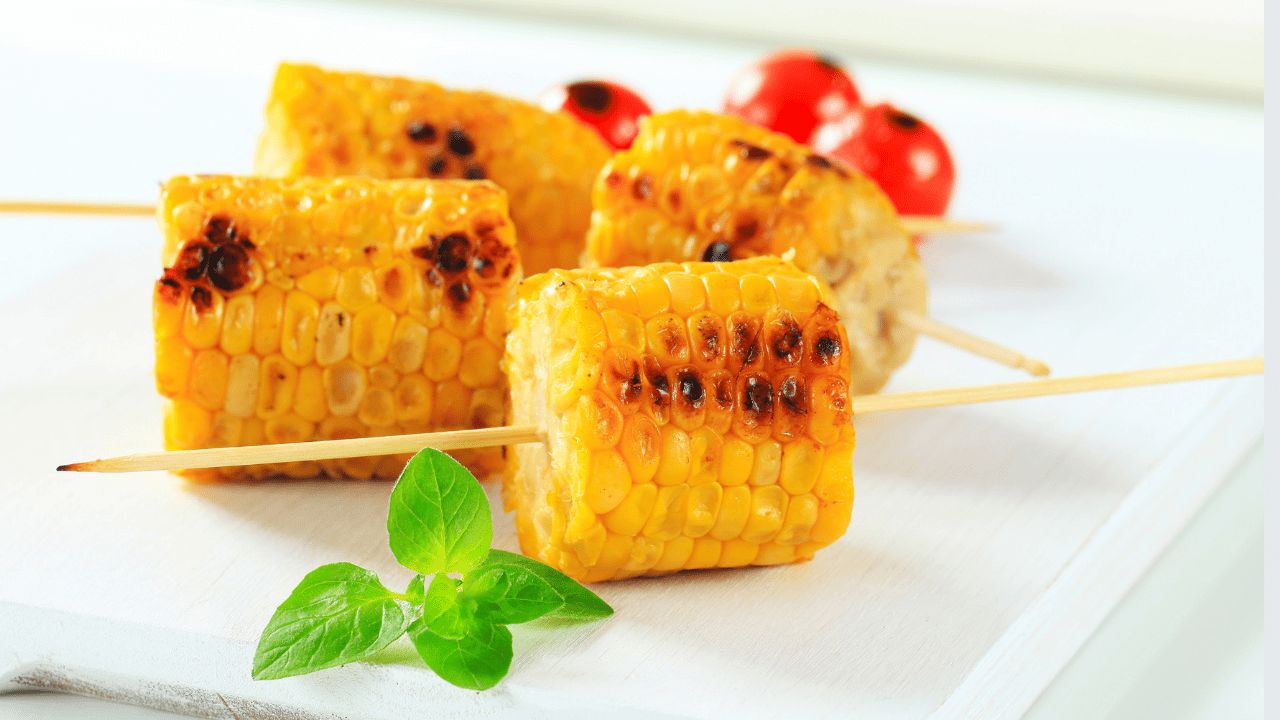
Note: Try to use glass vessels to present your recipe ingredients. Hence, the audience gets a better value from it.
6) Add Text & Music
There are many challenges when it comes to shooting cooking videos with mobile. But we can overcome it through editing.
In case you can’t be able to take a wide-angle shot on your mobile, then add the recipe ingredient list in text form.
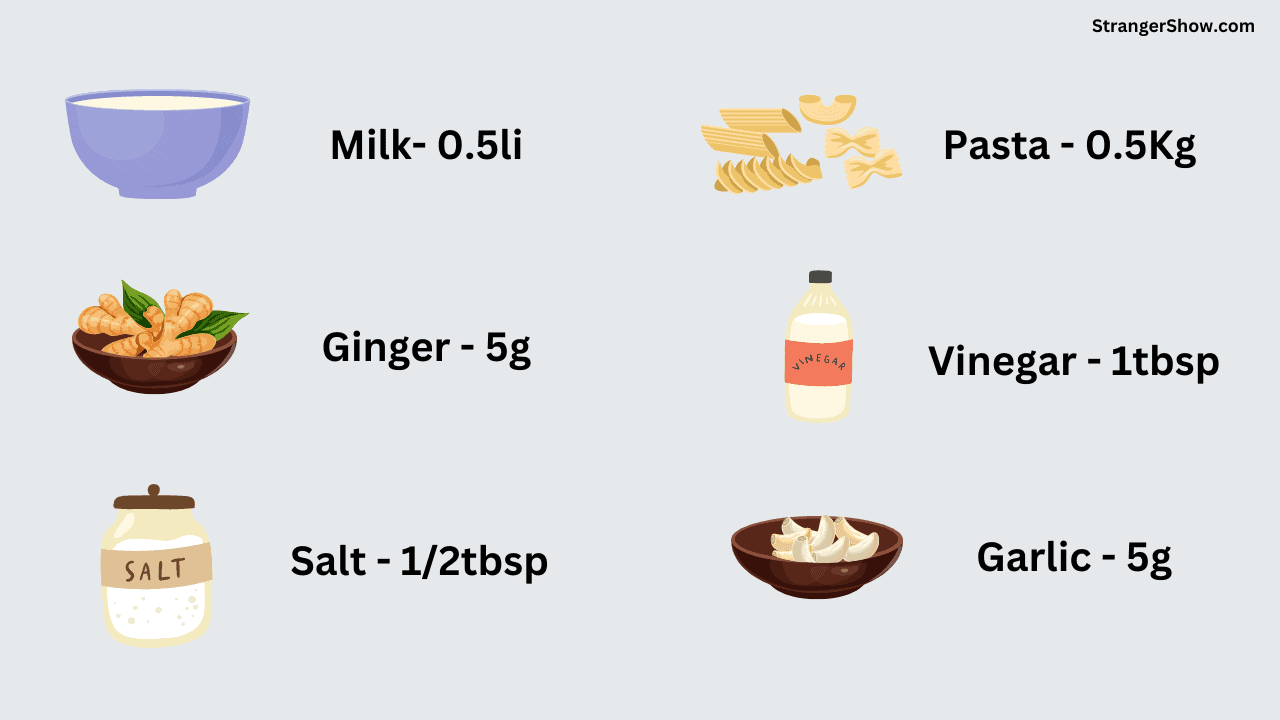
This way, the users can note the list of items on their checklist. To go one step further, you can also leave the items on the description section of your vlogging platform, for example, YouTube.
And the next one is Music.
While cooking videos, there must be some background noises like vessels giggling, baby noise, husband snoring, etc. Lol!
So, always tune the video core music like water pouring, oil frying, and cutlery sounds on Tawa. And then cut out the background noise.
Add the minimum volume of background music to the video.
Conclusion
“We can say not to record the video” from mobile for multiple reasons. But believe me; many people create videos from mobile cameras, even some top YouTubers.
With all the above-discussed possibilities and opportunities, shoot the best cooking video with your handy phone and leave your video link in the comment section that you achieved it.
See you in the post on how to start a cooking channel on YouTube and make money from it.
Also, watch out for the tips for making a cooking video.
Ta-da!
Share this article with your cooking friend!


