Do you want to create a PayPal account in India to get the money from other countries?
If so, you came to the right place to learn how to create a PayPal account in India with a step-by-step picturization guide.
Generally, the primary source of income for content creators like YouTubers, bloggers, and other influencers is in the form of U.S. dollars.
So, ultimately, they need a service that helps convert their generated income from the U.S. dollar to Indian currency (INR).
That’s where PayPal comes into the picture.
If you’re an affiliate marketer, having a PayPal account is not just a suggestion; it’s a necessity. It’s a crucial tool that allows you to receive payments and effectively manage your online income. Learn more about Affiliate Marketing here.
So, in this detailed article, I will guide you through creating a PayPal account with a step-by-step picturization guide.
- What is PayPal?
- How to create a PayPal account in India?
- FAQ
What is PayPal?
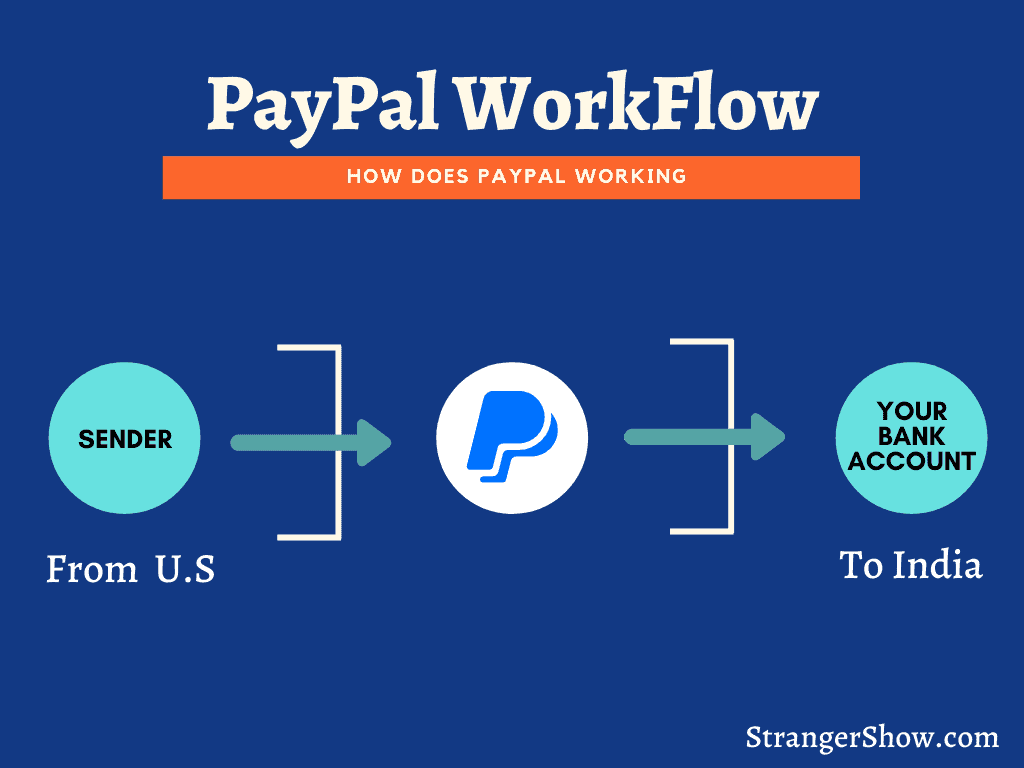
PayPal is an online payment gateway system for sending and receiving money worldwide safely and securely. Check out the image below to better understand.
Okay, let’s see one example.
Consider that you own a YouTube Channel and promote affiliate products. You’ll receive a commission when someone purchases a product through an affiliate link on your video description.
For instance, the Bluehost web hosting company has an Affiliate program, and their commission rate is $65 per sale. Assume you made 5 monthly sales, and your commission rate is $325.
You made the money. So, how will you get that amount in your Indian bank account? That’s where PayPal knocks on the door.
Firstly, the company (Bluehost) sent that amount to your PayPal account, which you already linked with your bank account. Hence, you can transfer that $325 from PayPal to your bank account. That’s all.
With PayPal, it’s easy to transfer money from any currency to your Indian bank account.
I have been using PayPal for my affiliate commission for the past 4+ years, and to be honest, it’s one of the best payment ecosystems in a safe and secure mode.
So, now we’ll see “How to create a PayPal account”.
Note: While creating a PayPal account, kindly concentrate on each step. I made a lot of mistakes and struggled more to correct those mistakes. So, it would help if you didn’t make the same mistakes.
How to Create a PayPal Account in India
Firstly, a PayPal account is free to create and costs nothing to sign up. Follow the below steps.
Step 1: Visit the PayPal Site
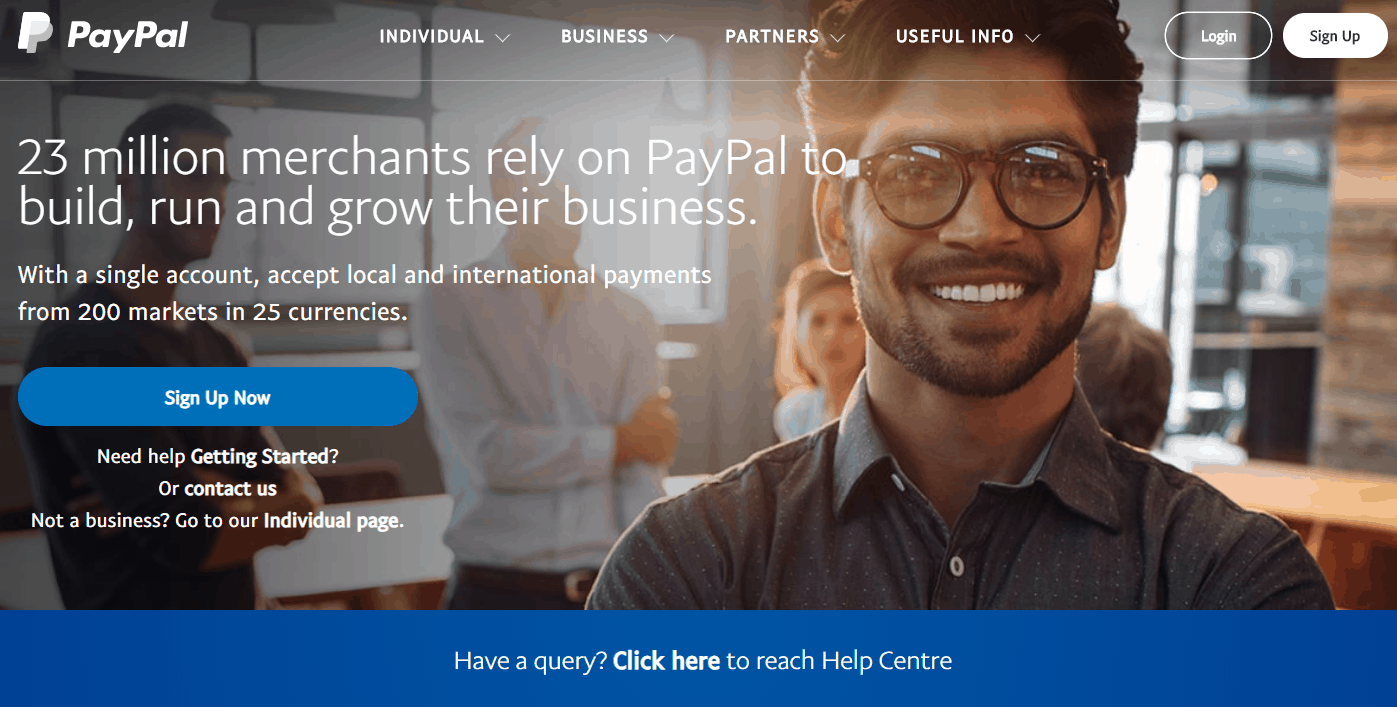
Go to your PC browser and visit the PayPal official Indian site by clicking here. Once you reach the site, click the “Sign-Up” button.
Step 2: Choose & Create PayPal Account Type
The next step is the most important. Here, you’ll get the account page. PayPal offers two kinds of accounts, and they are,
- Individual Account
- Business Account
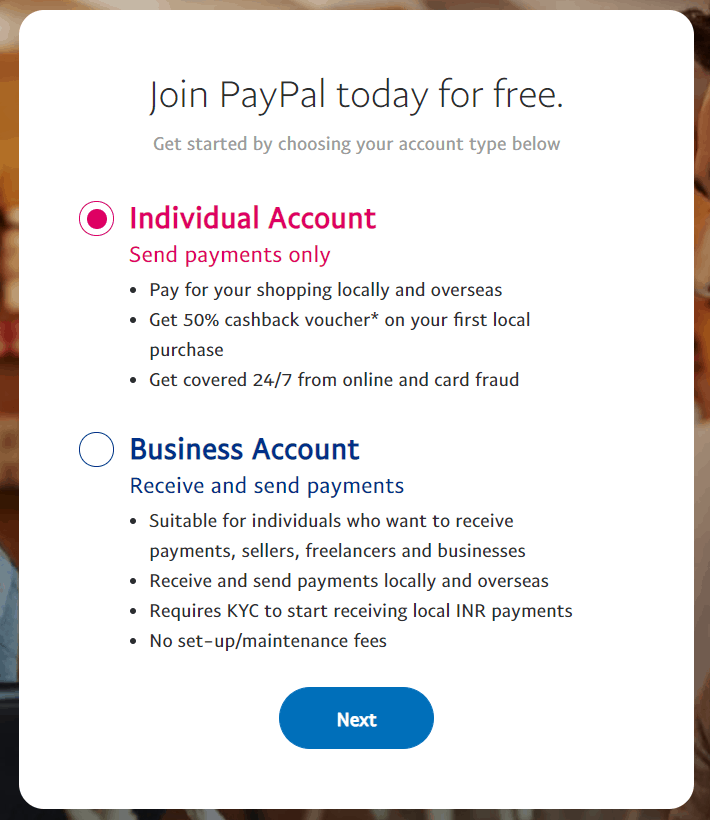
Individual Account
- If you’re making money from blogging, YouTubing, web design, and other freelancing means, you can create “Individual accounts.”
Business Account
- Moreover, If you’re maintaining the business as an organization with partners and making daily transactions, use the “Business Account.”
After creating the “Business” account, if you want to downgrade it to an “Individual” account, then you can do it by contacting PayPal customer service. The reverse is also possible.
So, decide and choose the account type clearly and click the “Next” button.
Step 3: Enter Account details
After you choose the account type, enter your primary mobile number.
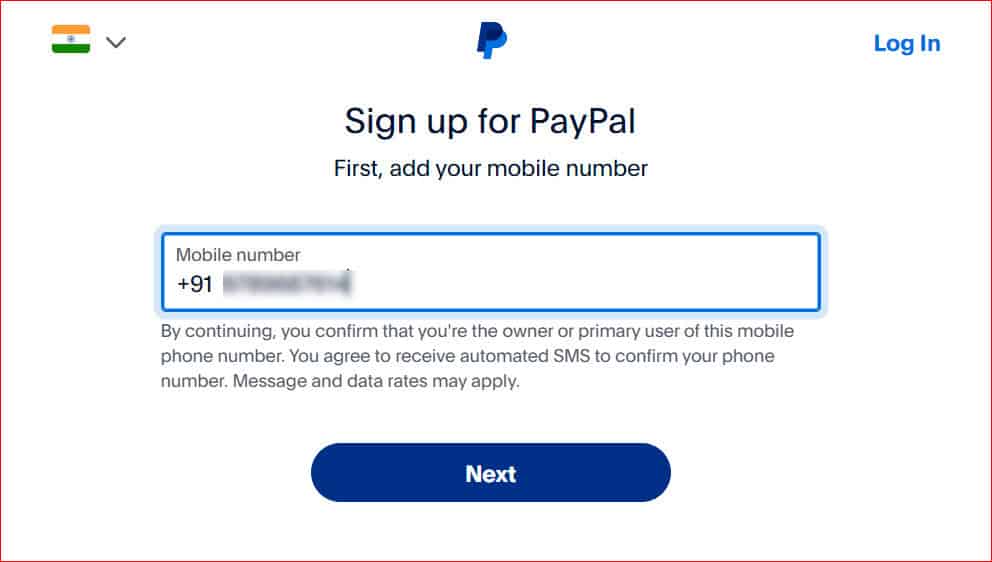
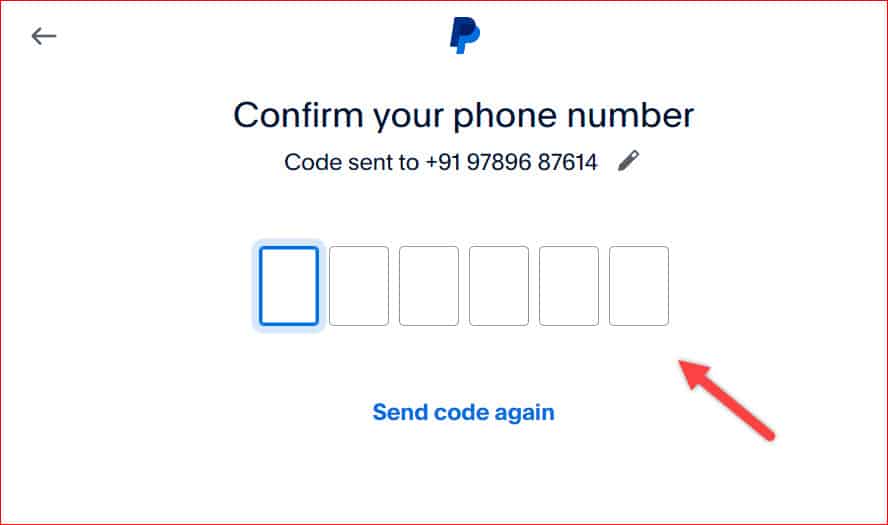
Complete the OTP verification.
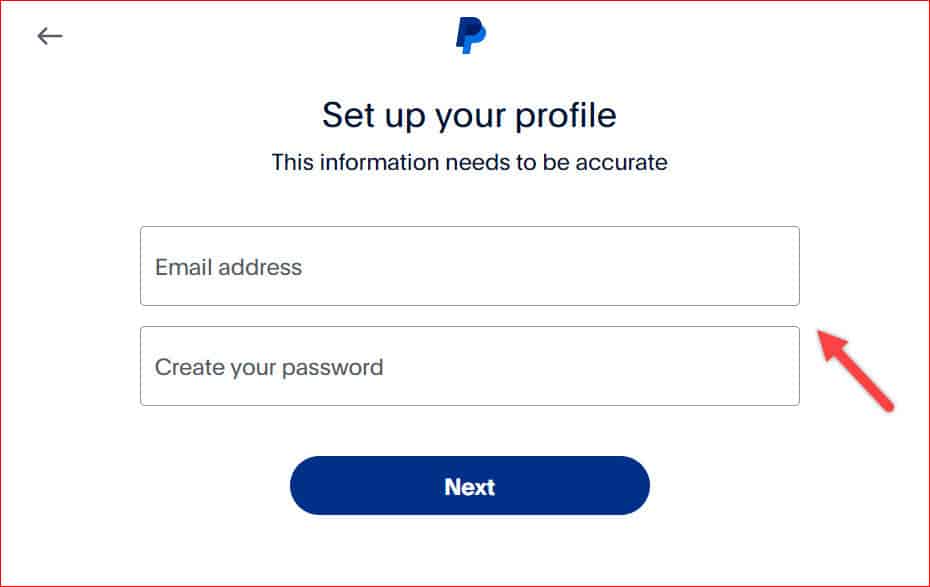
Now, enter your “Email address” and “Create your Password” on this page and confirm it. Enter the correct mail address and click the “Next” button.
Step 4: Enter Basic Information’s
To create an account, enter your basic details, such as your Nationality, Address, City, State, and Mobile number.
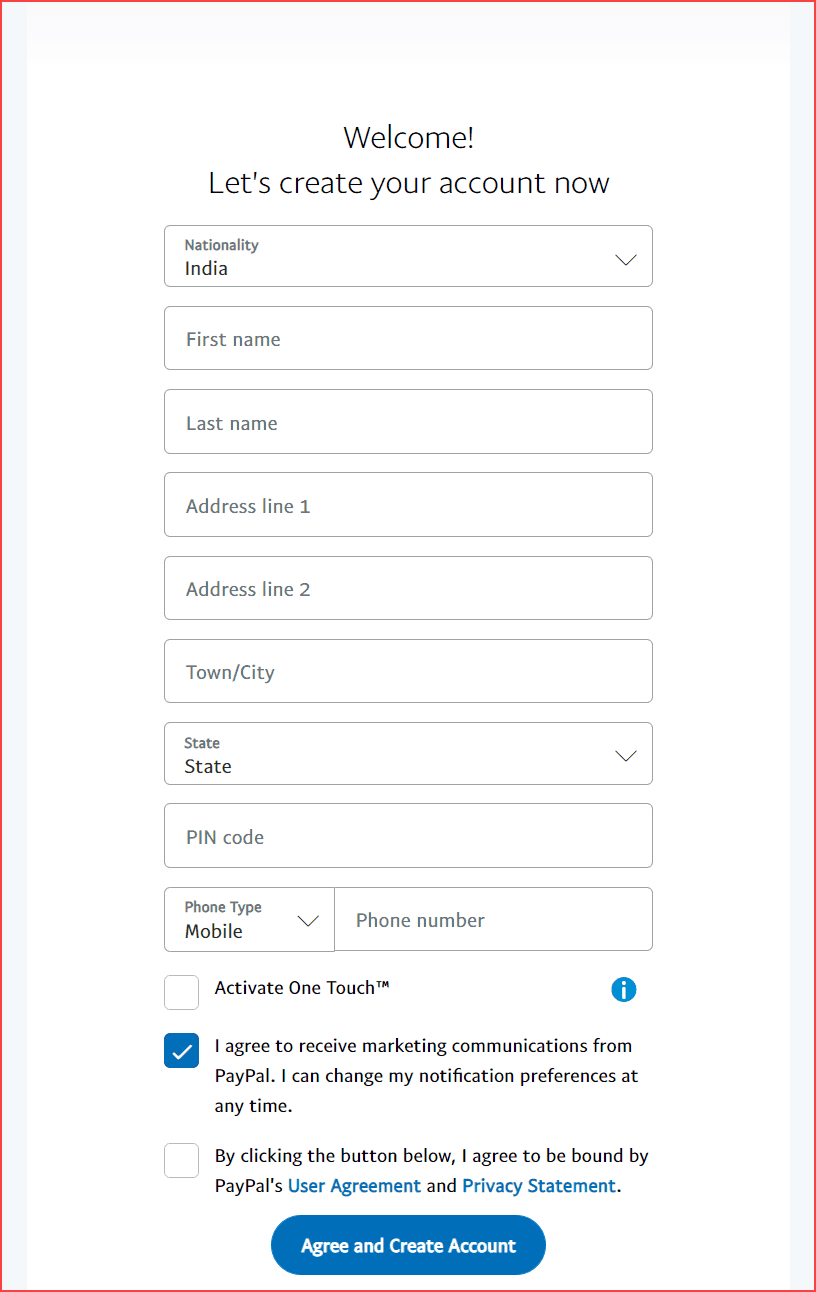
Important: Your “First Name” and “Last Name” must match your bank account. So, enter the name details precisely as per your proofs.
Finally, check the PayPal agreement and privacy statement policy, and click “Agree and Create Account.”
Step 5: Link a Card
In this final step, if you want to provide your debit or credit card details, fill out the fields “Card Number,” “Card Type,” “Expiry date,” and “Security Code” (CVV), and finally, click the “Link Card” button.
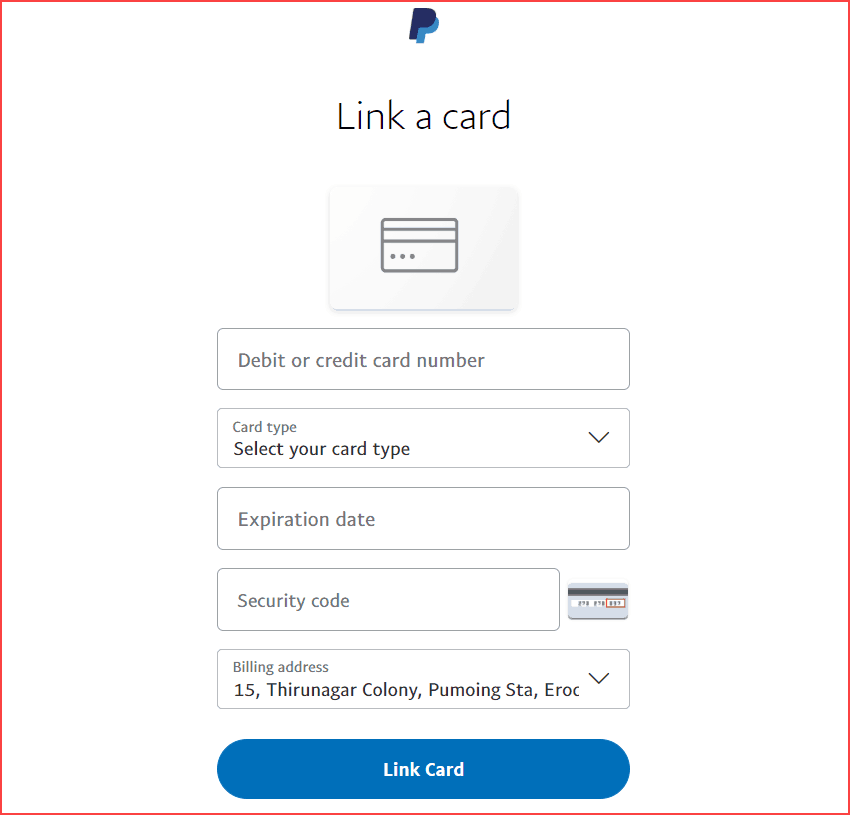
Card details are used to purchase items from Amazon, Alibaba,and others. If you don’t want to link your card, skip this step and simply move to your account page.
However, it helps you connect your bank account to PayPal quite easily.
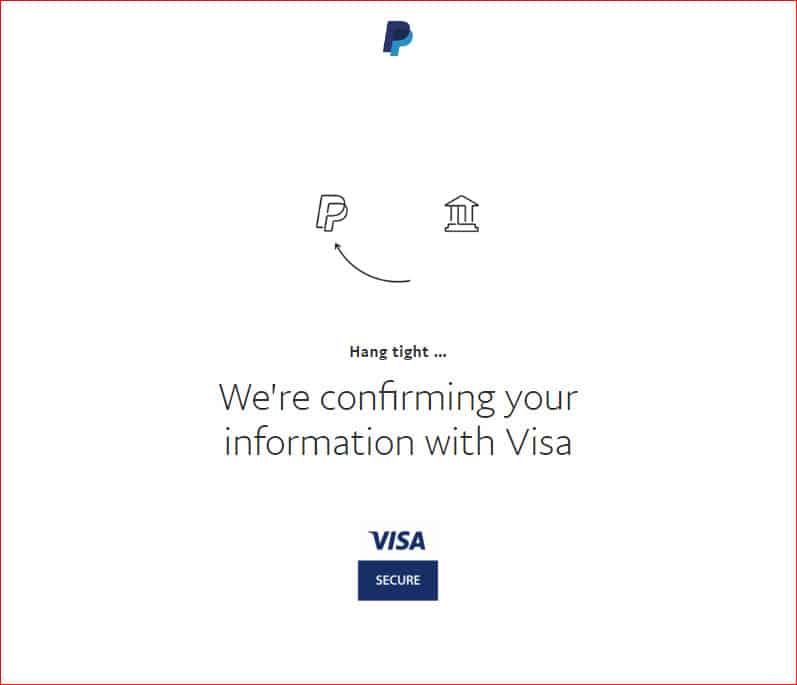
Step 6: Created PayPal Account in India
That’s all. Your PayPal account has been created successfully. It shows your account summary, like the image below.
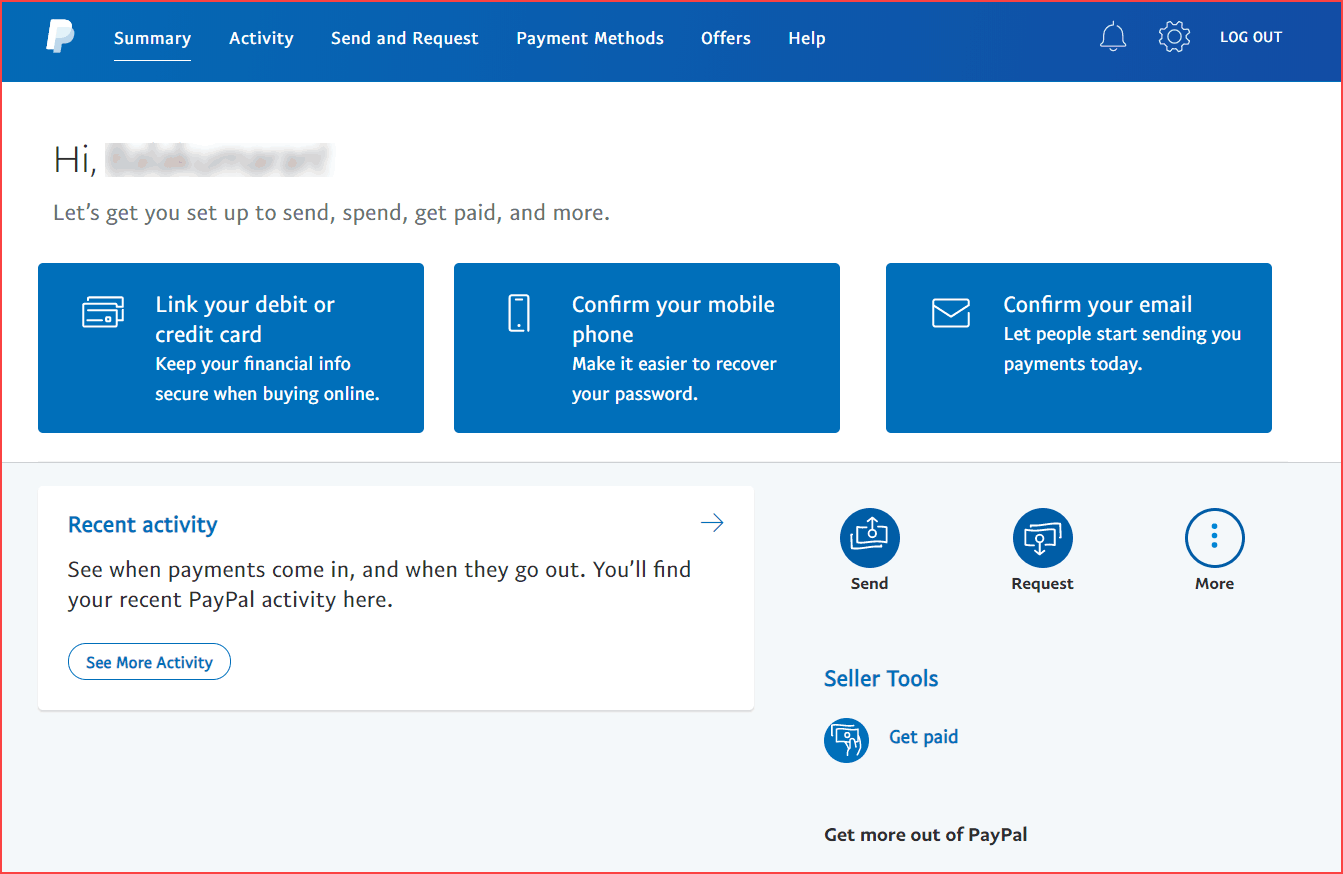
Confirming your mobile number and email address is mandatory for verification purposes.
Hence, to receive the payment from PayPal to your bank, the following three things are essential,
- The email has to be verified.
- Bank account details need to be added.
- KYC detail completed.
Step 7: Add Bank details
At this point, you have created a PayPal account. However, we need to connect our bank account to PayPal to send and receive money.
As I mentioned earlier, the name of your bank account and PayPal account name must be the same to get a successful transaction.
So, add your bank details, such as IFSC code and account number, and submit it. PayPal will verify your account in a couple of days.
Generally, after submitting your bank details, PayPal will deposit two small amounts into your bank account. This is for confirmation purposes, so once you verify those amounts, they will merge your bank account with the PayPal account.
That’s all for everything now. You have successfully created and linked your bank accounts to the PayPal account in India.
For the PayPal help center, kindly click here. Let’s see some frequently asked questions about this.
FAQ’s of Creating PayPal account In India
Conclusion
Creating a PayPal account is simple, but a few beginners make many mistakes, as I did while entering banking details, names, account types, etc. This leads me to write this post.
I hope you’ve loved, enjoyed, and learned valuable information from this post; kindly share it on your Facebook and friends. In the next post, we’ll see 7 best high-paying affiliate programs.
Also Read,

Sharing is caring!
